
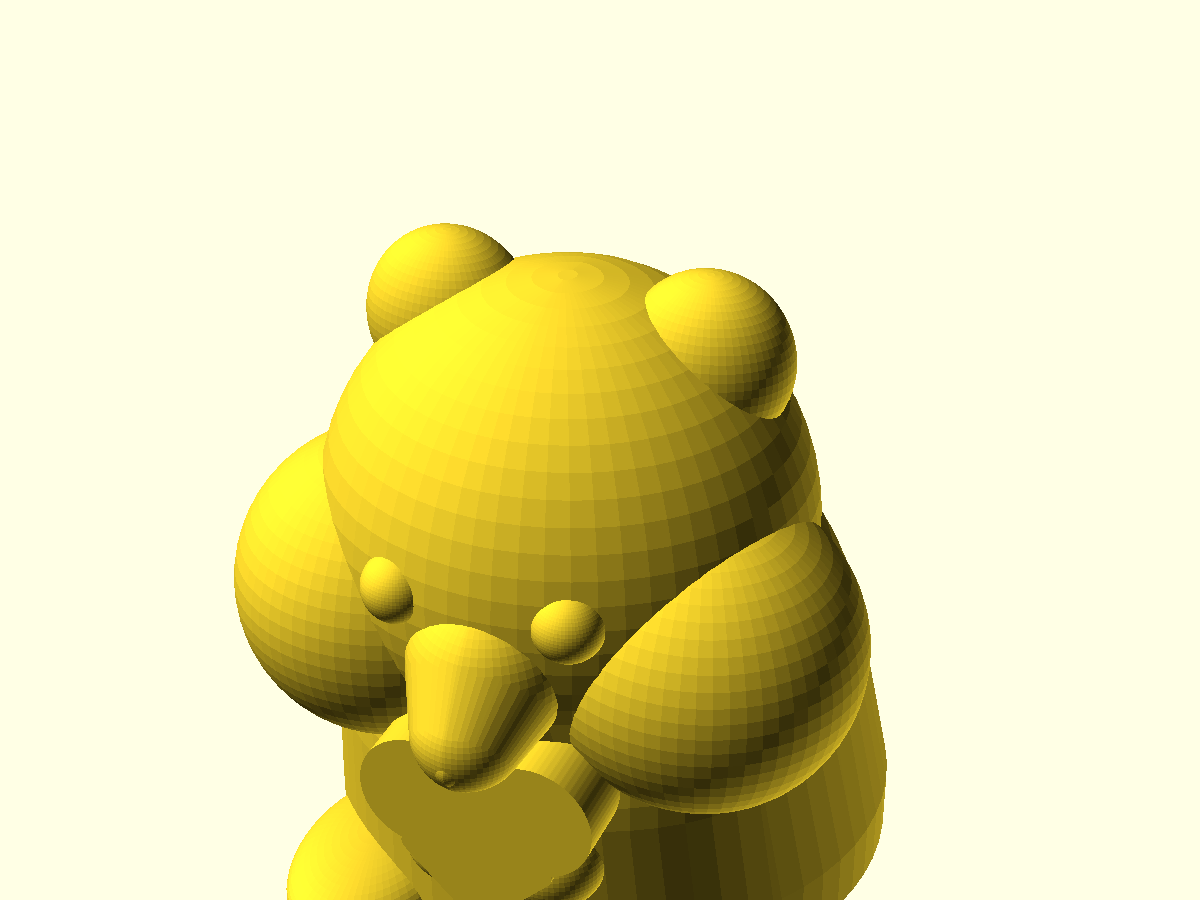
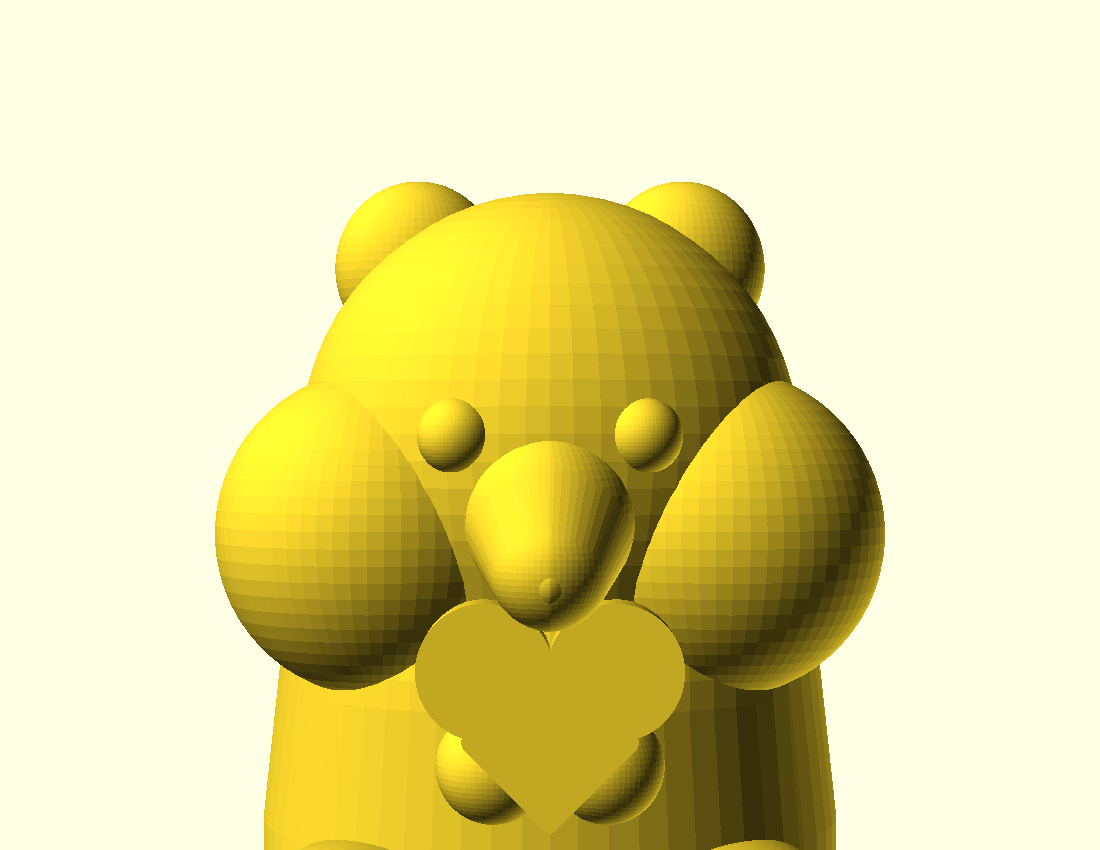
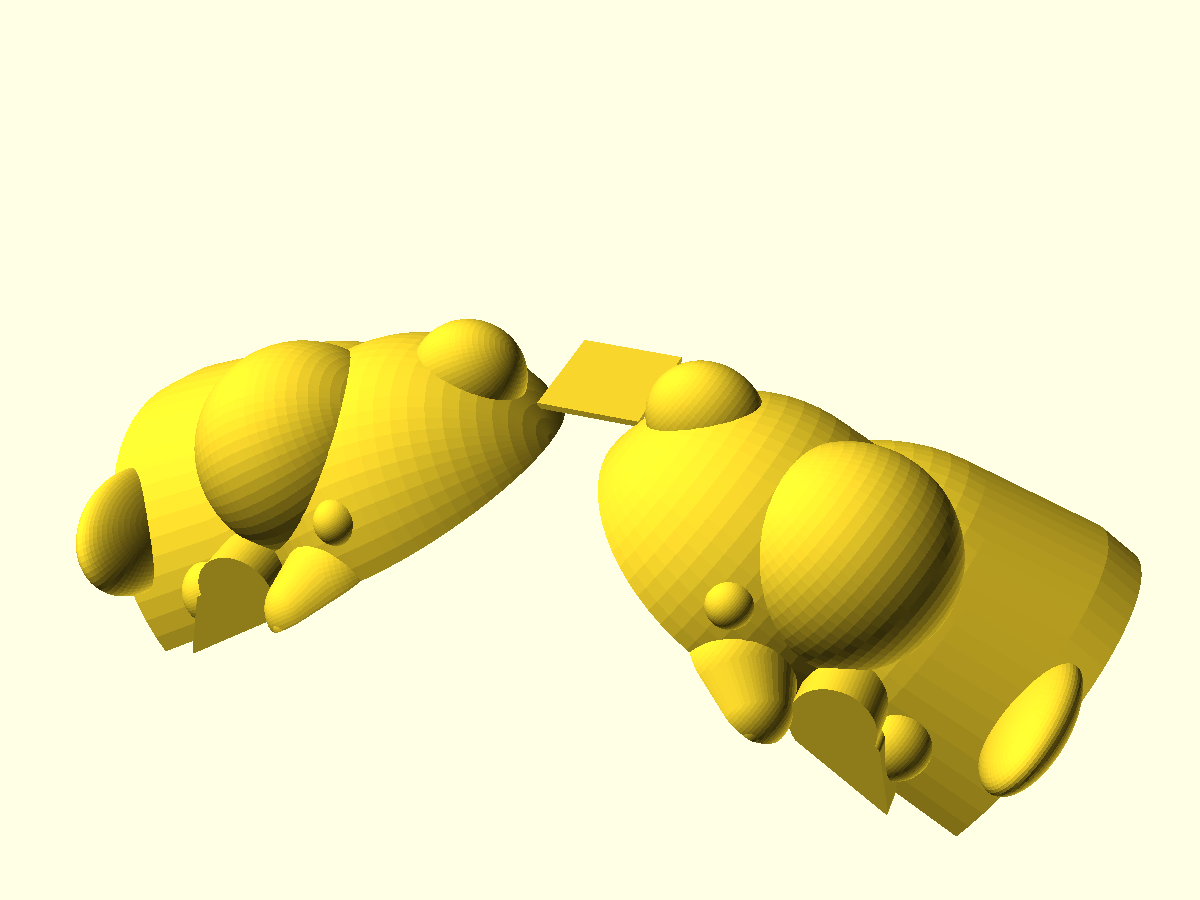
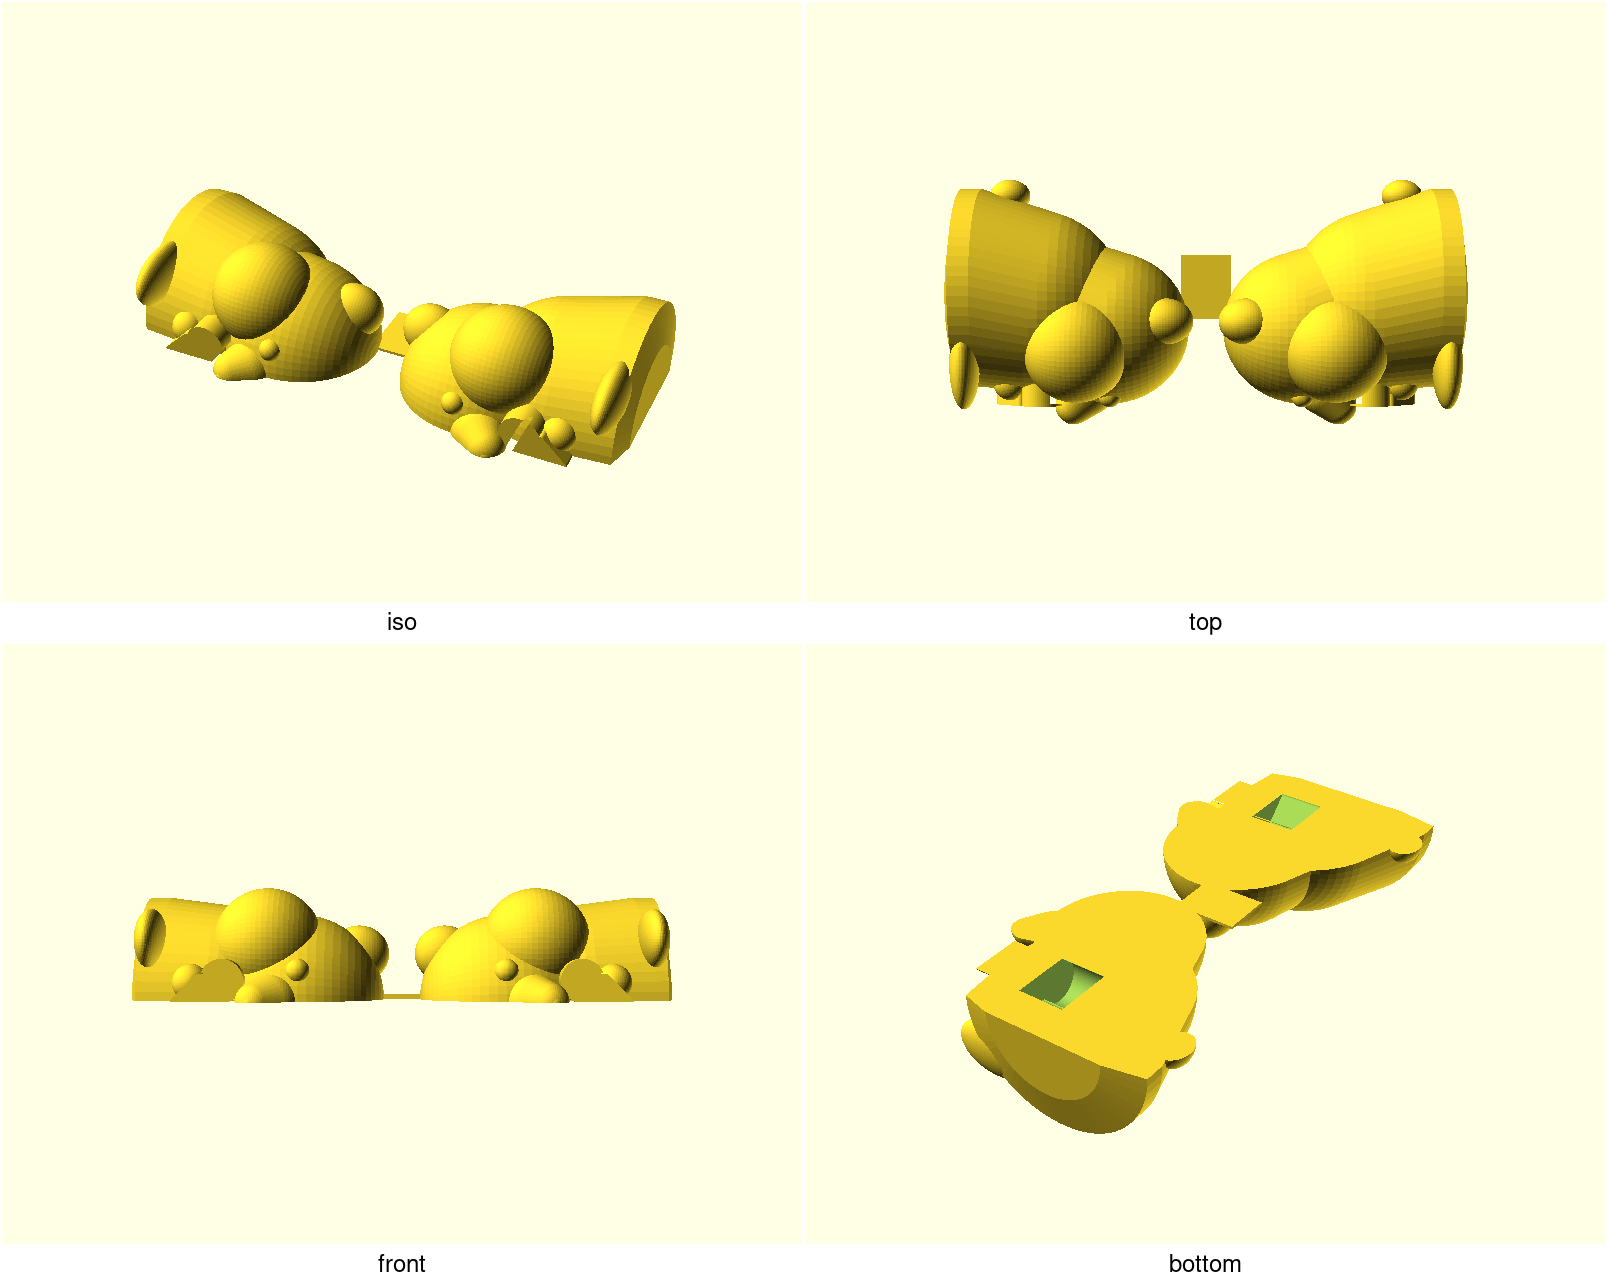
A palm-sized jewelry box shaped like a chubby chibi hamster cradling a heart. It prints in one piece — no assembly — and folds open along a living-hinge spine like a locket. Closed, it's a cute hamster hugging a heart; split down the middle, the heart parts between the two halves, and a heart-shaped pocket inside nestles a ring. A giftable little keepsake for a proposal, an anniversary, or a Valentine.
What you get
One print-in-place part — the two hamster halves come off the bed joined by a thin living-hinge web along the dorsal seam, so it prints already assembled and folds shut.
sweetheart-hamster— the hamster locket, ~53 × 61 × 60 mm assembled; ring nest ~22 mm across. Prints flat/open, ~126 mm wide on the bed.sweetheart-hamster-coupon— smaller "print this first" copy to dial in the hinge flex and seam fit (nest_onoff on purpose).sweetheart-hamster-nest-coupon— thick heart pad with the production closed nest (nest_w/nest_depthas shipped); drop a ring in to prove the ring seats before the full print.
Print settings
- Material: PETG or PP recommended — the living-hinge spine flexes for many open/close cycles. PLA works but is brittle at the hinge: treat the halves as separable (the thin web is a tear-line) rather than a repeatedly-folding lid.
- Layer height: 0.2 mm.
- Infill: 10–15 % is plenty (decorative box). Default-density slicing runs ~36 g / ~2.5 h; low infill cuts both substantially.
- Supports: none for the body — it prints flat/open, cut-faces down, domes self-supporting. ~3 % of the surface (the ring-nest ceiling and a couple of underside curves) is technically overhang. Keep auto-supports OFF. The nest prints as a heart-shaped arch opening at the bed; only its small crown — where the lobes curl over — is a real overhang, and a sagging crown droops into the pocket and eats the headroom a ring's stone needs. If the fit matters, paint a support enforcer on the nest crown only — a global "enable supports" drops pillars into the 0.5 mm parting gap (re-welding the seam this design is built to keep open) and scabs the cheeks and the pocket the ring seats against — and no brim either: a brim laid across the two flat islands bridges the parting gap and welds the seam at layer 1, which no elephant-foot compensation undoes on the reprint (auto-brim rarely fires at this footprint, but switch it off to be sure). Note that PETG (the recommended material) sags on that crown more than PLA does, so a truly stone-flush ceiling is really a PLA job — at the cost of the hinge (see Material).
- Seam: set the seam to Back (or use a scarf seam) — the slicer's default aligned seam stacks a vertical ridge down the show dome (a scar on the cheek of a gift print); moving it to the back keeps the face clean.
- Orientation: as modelled — the default render is the print pose (both halves flat, cut-face-down, hinge in the middle). Don't re-orient.
- First layer & plate: the cut faces print as the first layer — and that's the
heart-reveal surface the whole gift points at. On textured PEI it comes out
matte (expected — it reads like a flocked jewelry-box liner); expect a faint
elephant-foot flare around the seam silhouette (nose, brow, ears, tail), which
0.2 mm elephant-foot compensation cleans up. Enable it — on this part it isn't just cosmetic: a heavy flare can bridge the 0.5 mm parting gap, so if the halves won't part even after flexing (see Assembly & use), the flare is the cause, not
part_gap. Don't chase a glossy reveal with PETG on smooth PEI without a glue-stick release — it welds to the plate and you'll chip the reveal face lifting the print. Textured PEI is the safe choice. - Print this first: the hinge/seam coupon to dial flex and parting gap, then the nest coupon to seat a real ring in the production pocket, before the full print.
Parameters
The handful worth tuning; all parameters are at the top of
sweetheart-hamster.scad, grouped in Customizer sections.
| Parameter | Default | What it does |
|---|---|---|
S | 1.70 | Overall scale (1.70 ≈ 60 mm tall assembled) |
heart_w | 20 mm | Width of the belly heart the hamster cradles |
heart_proud | 4 mm | How far the belly heart stands off the skin |
nest_w | 22 mm | Ring-nest heart cavity width |
nest_depth | 6 mm | Nest depth into each half (total ≈ 12 mm closed) |
part_gap | 0.5 mm | Seam parting clearance. Seam won't part? Flex it, then enable 0.2 mm elephant-foot compensation; raise this only as a last resort, +0.1 mm on the coupon |
web_t | 0.7 mm | Living-hinge flexure thickness |
fold | 0 | Preview only: 0 = flat print pose, 90 = assembled |
Two worth setting for your ring and printer:
nest_w— size it to the ring. Set it to the band's outer Ø + ~0.5 mm so the ring seats snugly; the 22 mm default suits roughly a US-7 band, and a band looser than the pocket will roll, shift, and rattle in the closed box.web_tand layer height. At the pinned 0.2 mm layers,web_t = 0.7mm is 3.5 layers, so a slicer rounds it to 0.6 or 0.8 mm (±14 % flexure stiffness). Pick 0.6 or 0.8 for a predictable hinge, and A/B it on the coupon.
Override on the command line, e.g. -D 'S=1.5' for a smaller hamster or
-D 'fold=90' to preview it closed.
Assembly & use
Nothing to assemble — it prints as one piece, splayed flat and open. The hinge
runs along the top of the spine (dorsal), so in the print/open pose both heart
scoops face down. To load it: turn the open piece scoops-up, set the ring into a
scoop, then fold the two halves shut about the spine. The reveal runs in reverse —
unfolding parts the halves and the ring lifts free of the scoop as they open, so
open it over a hand or the table, not in mid-air. The closed hamster carries a
small tab along the top of the spine between the ears — that's the living hinge,
printed flat and folded up, and it stays on the finished piece. A light tack
across the seam at the very first layer is normal elephant foot — hinge one half
up off the bed, the way it folds, to break it before first use; don't pry the
halves sideways across the seam, which loads the hinge web in peel (a non-event
in PETG; in PLA expect a faint whitened crack along the seam). If the halves
fit tight and won't part after flexing, that's almost always first-layer flare,
not the gap — turn on 0.2 mm elephant-foot compensation and reprint — coupon
first; only a seam that still binds after that
wants part_gap raised, +0.1 mm on the coupon first. And when you give it, hand
it over with "it folds like a locket — the spine's the hinge" (or fold it
open once in front of them): a first-timer's instinct is to pull the halves apart
sideways, which strains the thin hinge web — worst in PLA — at the one moment you
can't redo.
The box has no catch — it holds shut by friction alone — so carry the print flat and empty, and load the ring at the table just before folding it shut: not in a pocket, and not pre-loaded in a bag, where an open box jostled in transit lets the ring hop its scoop (and a ring looser than the pocket rattles in the closed box — a tell). Print in PETG if you want the hinge to fold repeatedly.