A small clamshell box that prints flat and assembled in one piece, folds
closed, and snaps shut — no supports, no fasteners, no assembly. It fuses two
independent compliant sub-mechanisms: a living hinge joins the two trays and a
compliant snap latch holds them closed (docs/advanced-techniques.md, Domain
1 flexures + Domain 2 orientation).
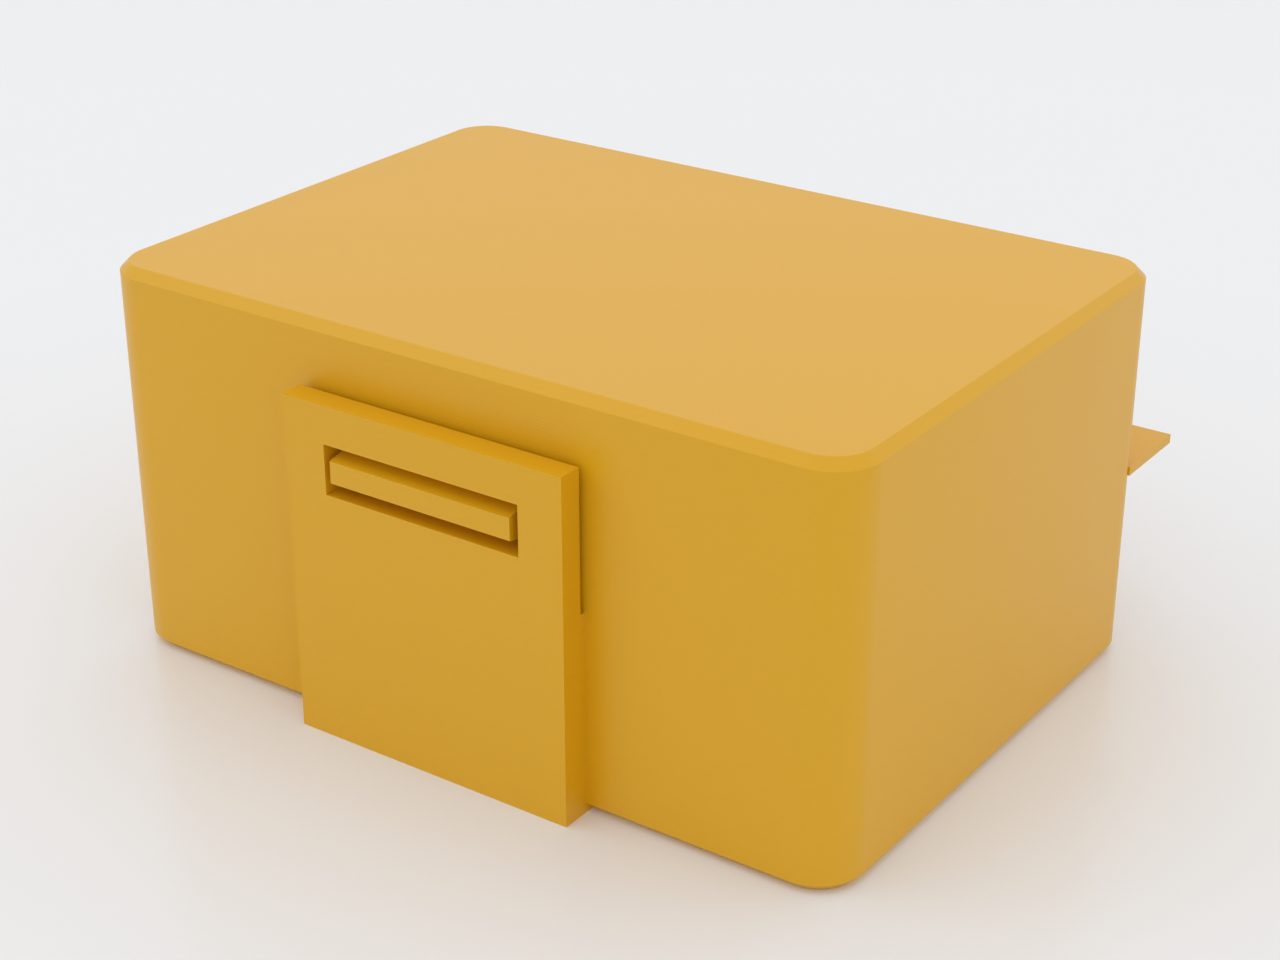
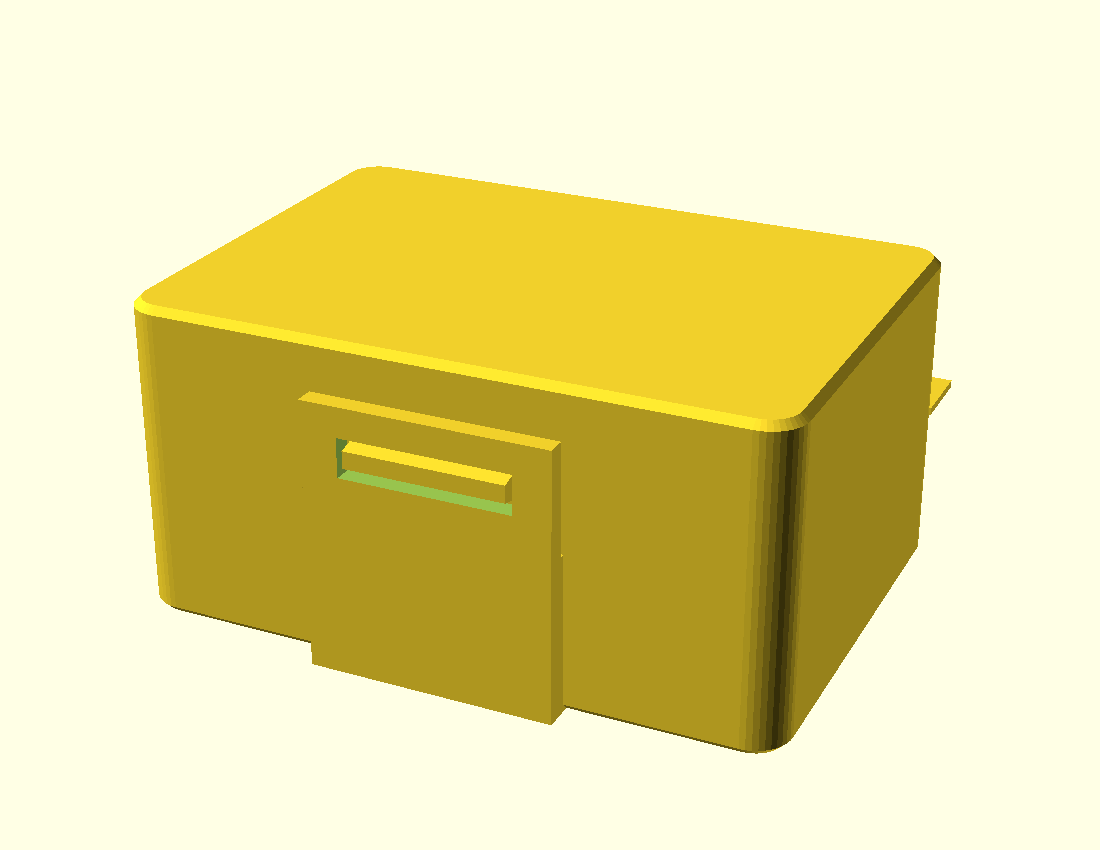
Closed and latched (preview pose):
What you get
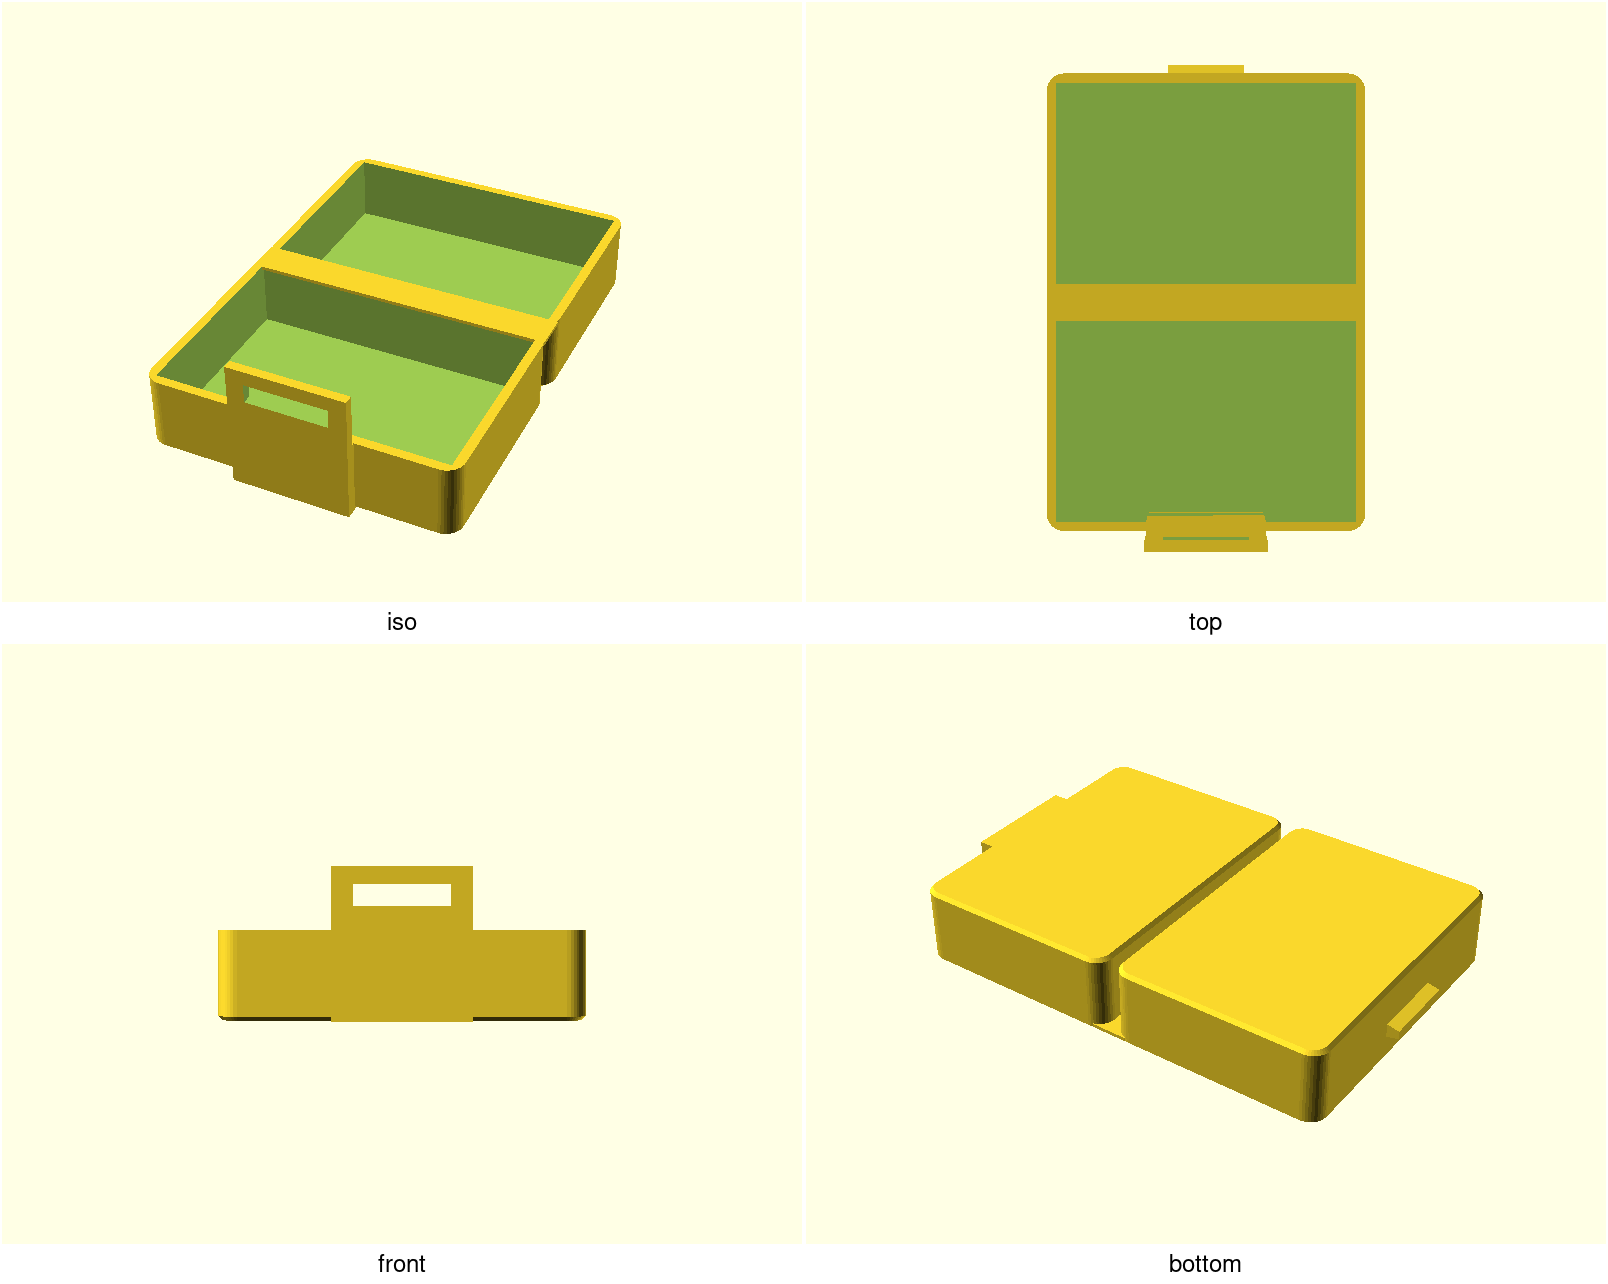
snap-clamshell-box— one flat print, ≈ 53 × 80.5 × 22 mm as printed (both trays open and flat, the latch strip standing proud of the rim); folds to a ≈ 53 × 43 × 26 mm closed box — the two tray-halves close face-to-face into one deep compartment. The closed interior clears ≈ 22.8 mm — enough to hold a pair of earbuds lying on their sides (21.8 mm is a bud's narrowest dimension; stood upright they do not fit). Expect a faint click from the stowed buds in a bag — the ~1 mm of clearance that makes them easy to drop in also lets them shift.
Print settings
- Material: PETG / PP for the living hinge (it folds many times); PLA will crack at the hinge
- Layer height: 0.2 mm or finer — the 0.6 mm living hinge is exactly 3 layers at 0.2 mm; 0.24 mm and coarser drops it to 2 and it will crack at the fold
- Infill: 20–30 %
- Supports: none needed
- Seam position:
Rear— the default aligned seam lands on the latch strip's window corner (a crack-starter on the flexing arm) on 16 of the strip's 45 layers;Rearmoves every one of them to the strip's end corners and parks the body seam on the hidden spine side (measured on the sliced gcode) - Bridging angle:
90°— the hinge spine runs along X, so 90° runs each bridge line the short way across the 2 mm spine gap, anchored on both tray rims. Stock auto-detect already picks 90° on this geometry; setting it pins the choice (measured: 112 spans, all at 90°) - Hinge web, what the slicer actually does: the 0.6 mm web is horizontal — not a thin wall — and slices as 3 stacked 0.2 mm layers: 3 concentric 0.45 mm perimeter passes per side plus a bridged core across the spine gap on the first layer. "Detect thin walls" is not needed and changes nothing here (measured)
The measured counts above come from stock PrusaSlicer with the repo gate's CLI settings (0.4 mm nozzle, 0.2 mm layers); on another slicer or profile, re-slice and verify — the recommendations hold, the exact counts may not.
- Orientation: flat, both trays open (as modelled). Fold the lid 180° over the base after printing; the front tab snaps into the base window.
The two mechanisms: a thin living-hinge web across the spine (bends in the
layer plane), and a tab-in-window snap on the front whose halves are placed by
the 180° fold map (tab_flat_z = 2·wall_h − win_z) so they meet exactly when the
box closes.
Parameters
| Parameter | Default | What it does |
|---|---|---|
inner_w | 50 mm | inner tray width |
inner_d | 34 mm | inner tray depth (each tray) |
wall_h | 13 mm | wall height per tray (closed interior ≈ 2·(wall_h − floor_t)) |
hinge_t | 0.6 mm | living-hinge web thickness (thin = folds easily; 0.4–1.0) |
hook | 2.0 mm | hook depth over the lid rim; the tab reaches through the window, and retention comes from the window lands, not the hook |
latch_t | 1.6 mm | latch strip (arm) thickness — drives snap stiffness; thickens outward, so the anti-clash clearance is preserved |
latch_h | 9 mm | latch strip height above the rim — drives win_z and the fold map (tab_flat_z) |
hinge_gap | 2.0 mm | spine gap between the trays that the hinge web bridges |
latch_clr | 2.0 mm | outward standoff of the latch strip so it clears the closed lid wall (≥ wall_t + a print clearance, asserted in the model) |
All parameters are at the top of snap-clamshell-box.scad; override with
-D 'inner_w=60'. demo_fold is a preview pose only — print at 0.