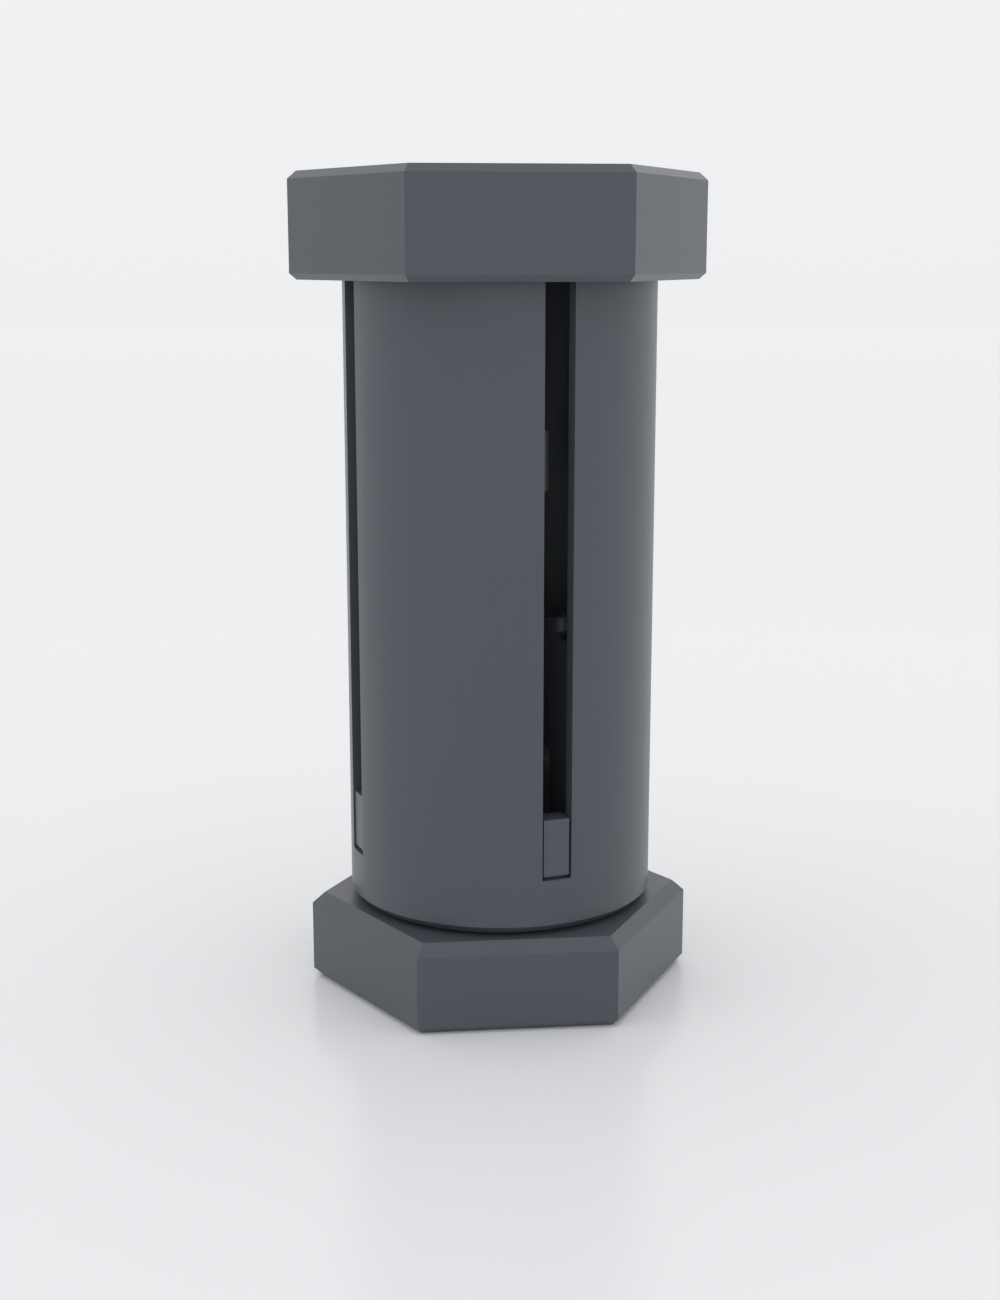
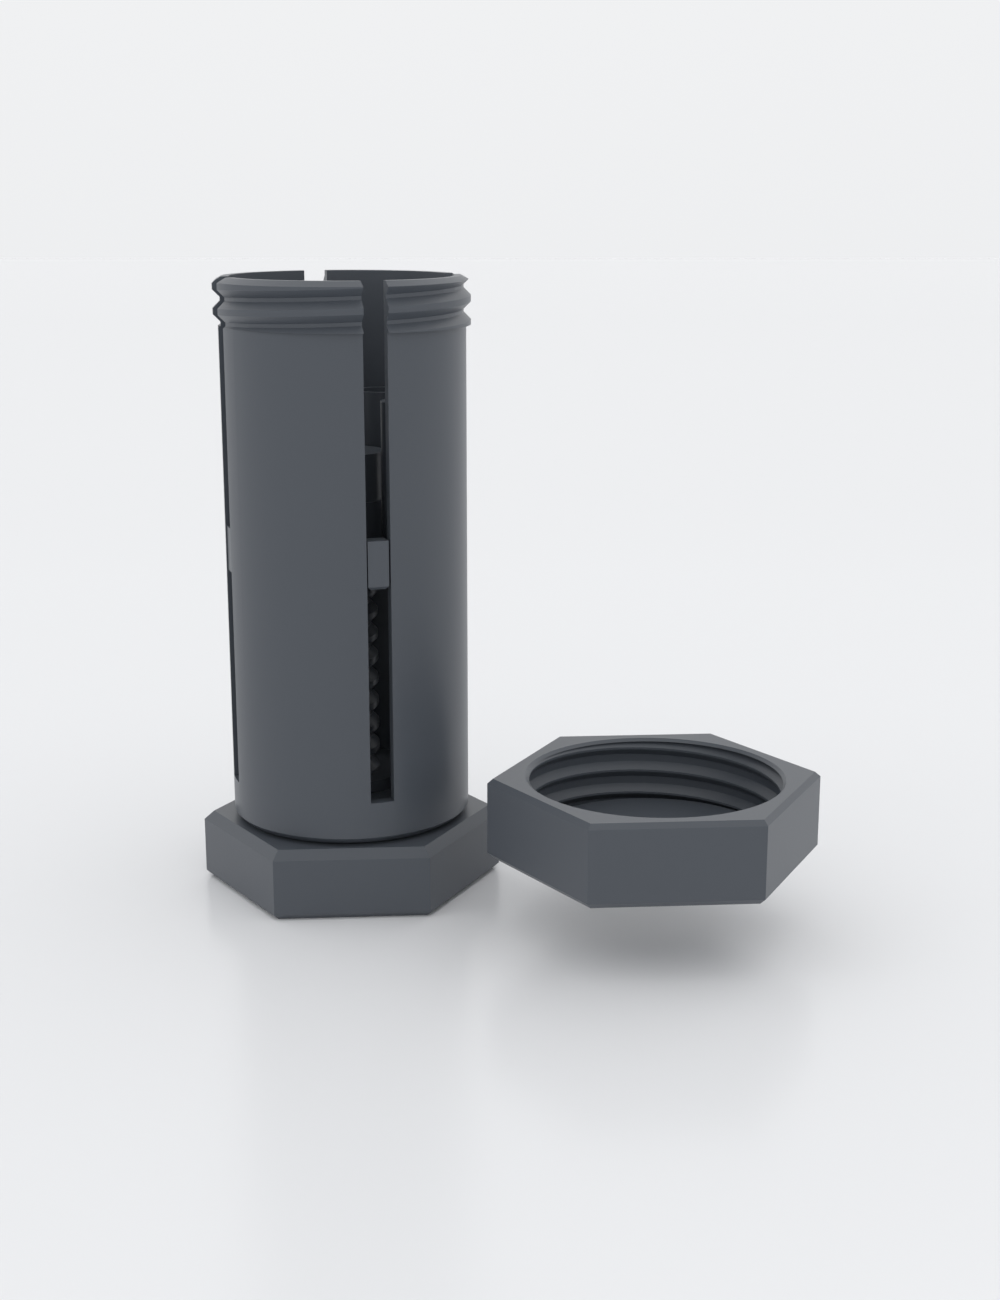
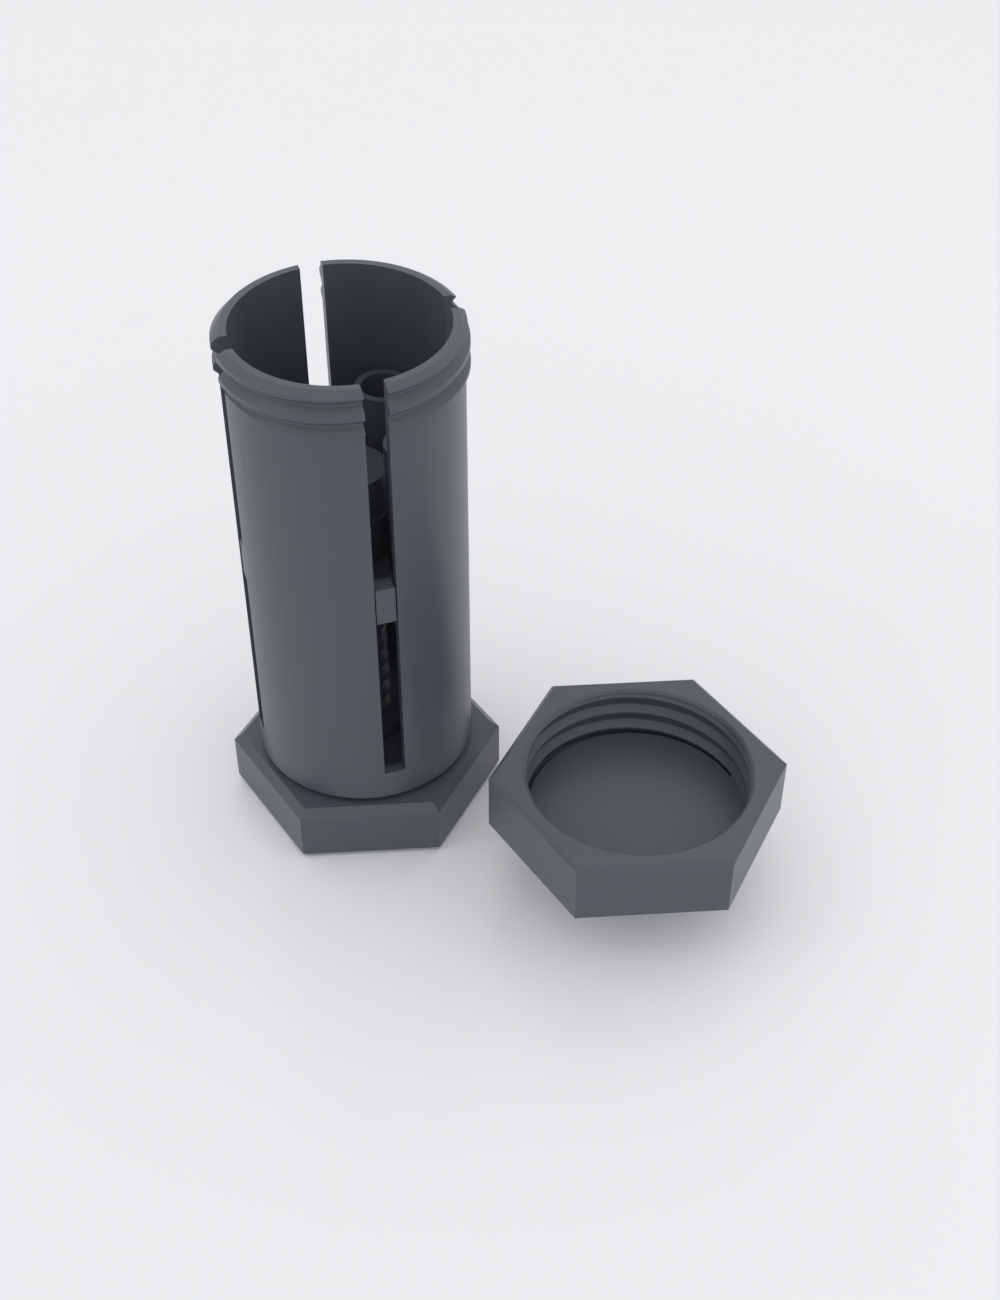
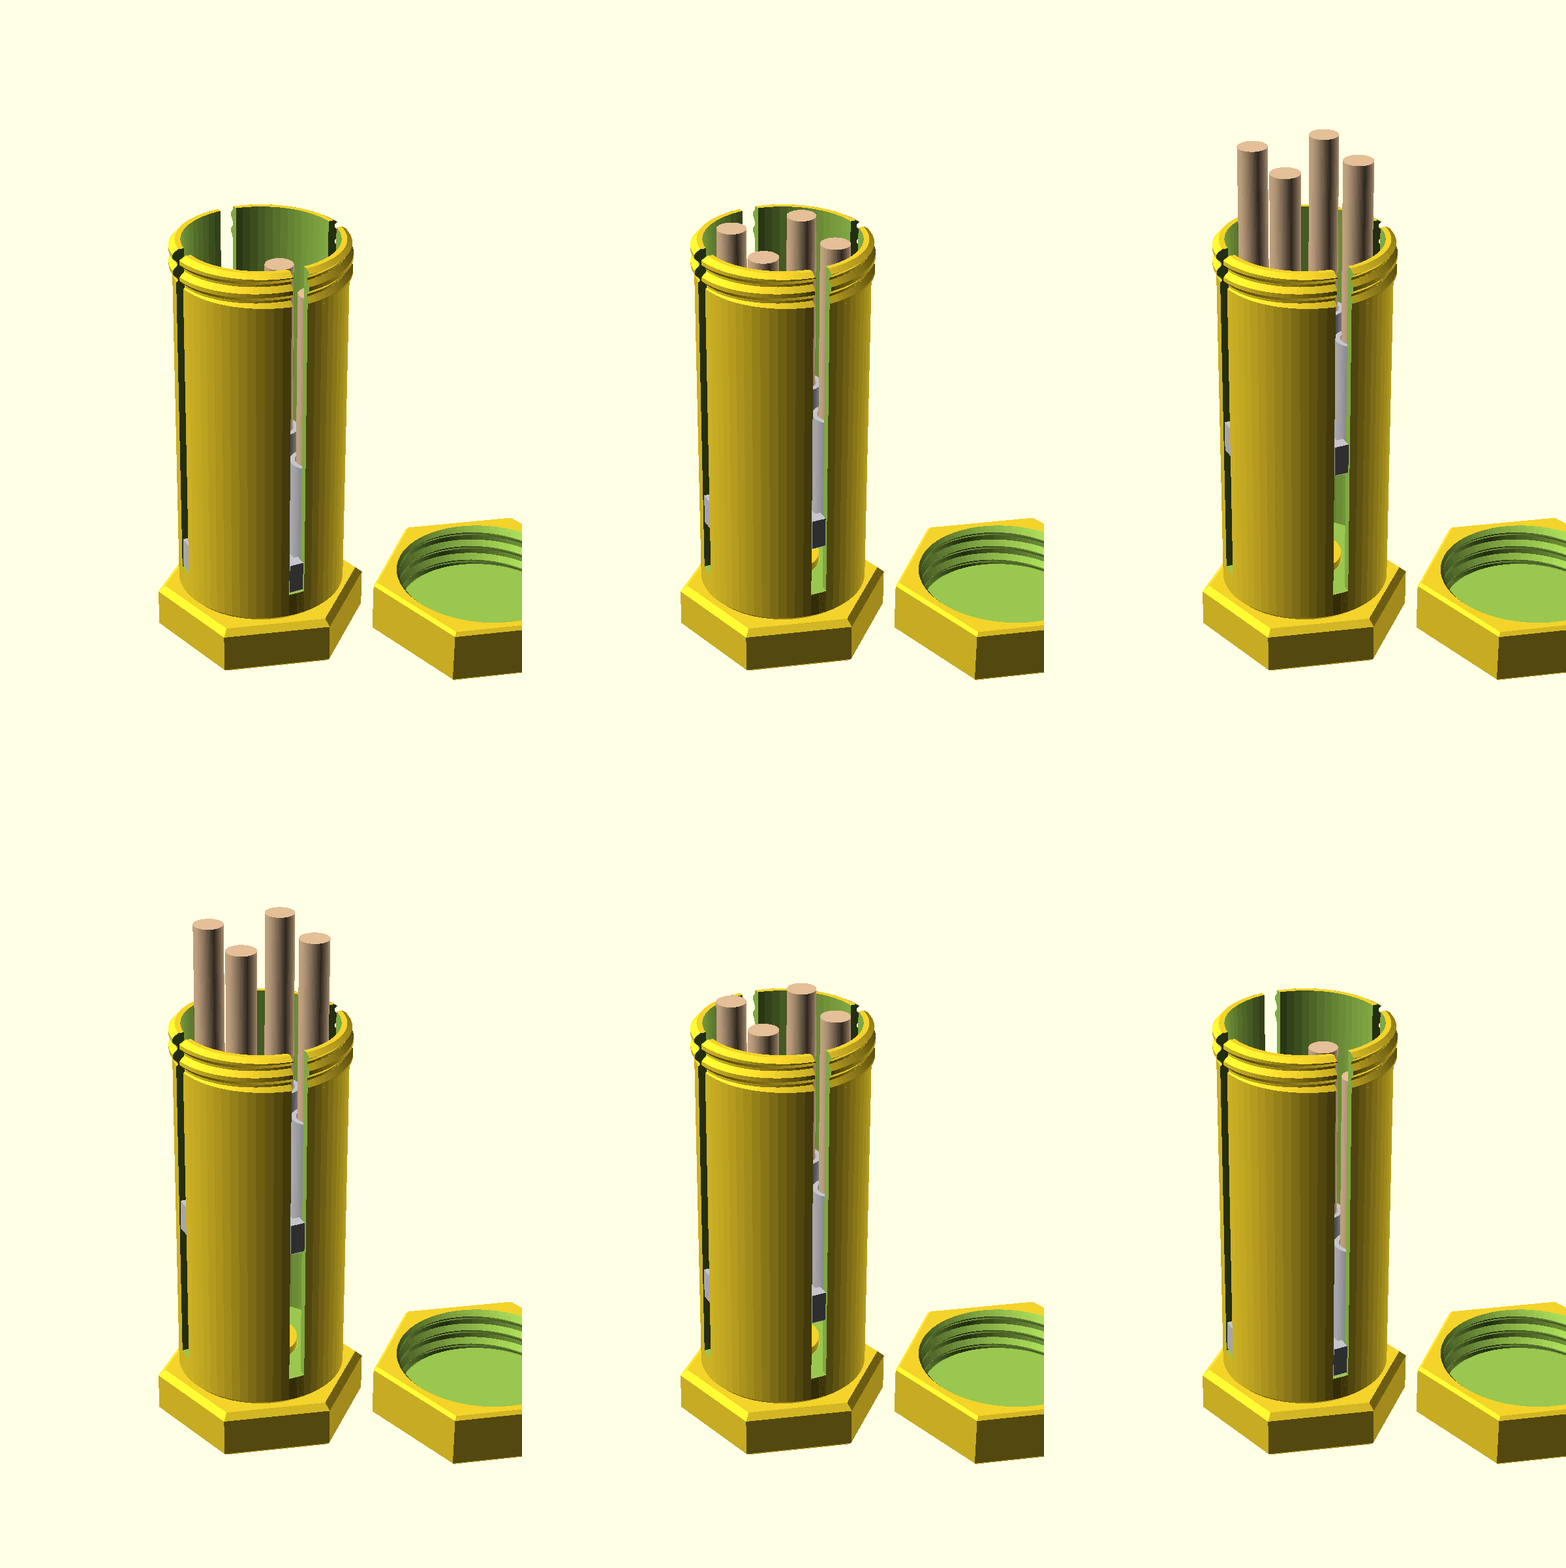
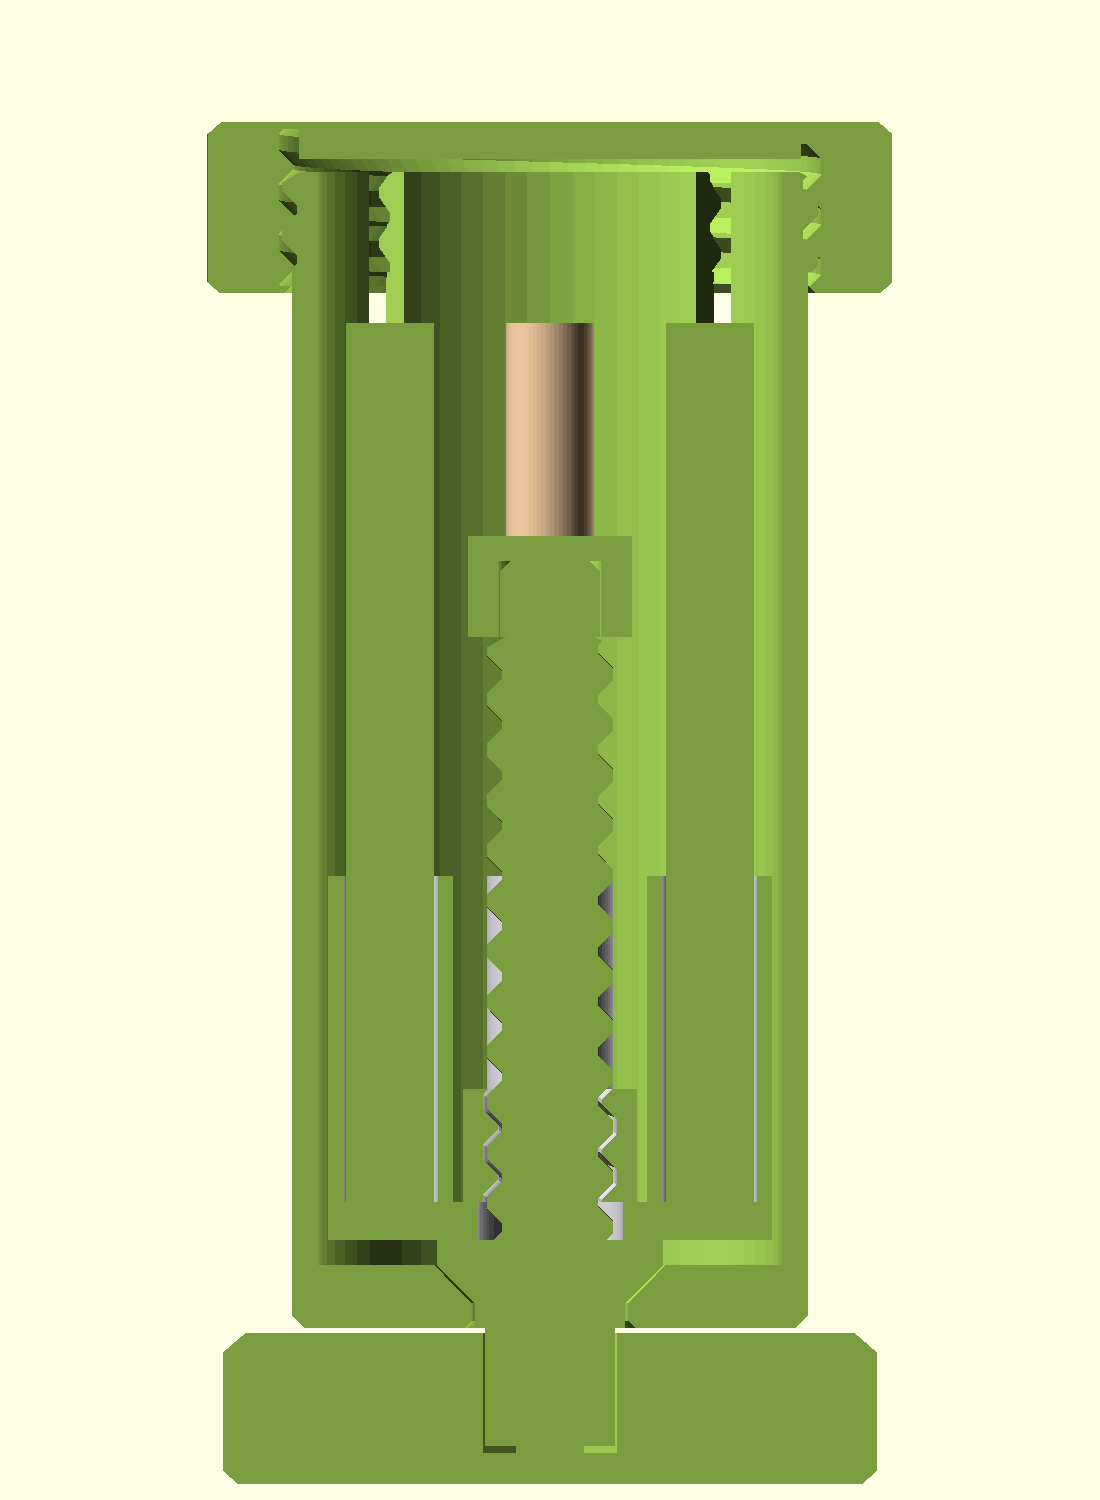
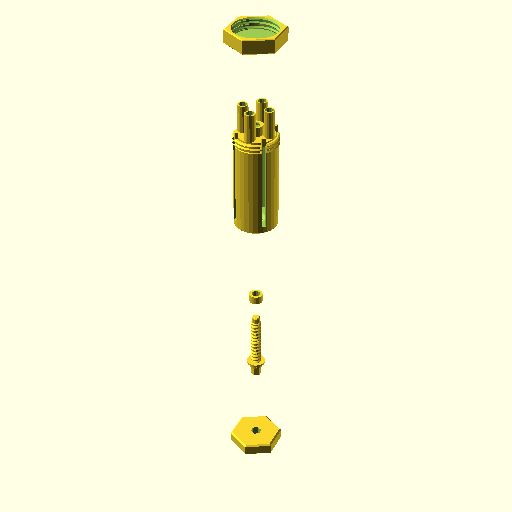
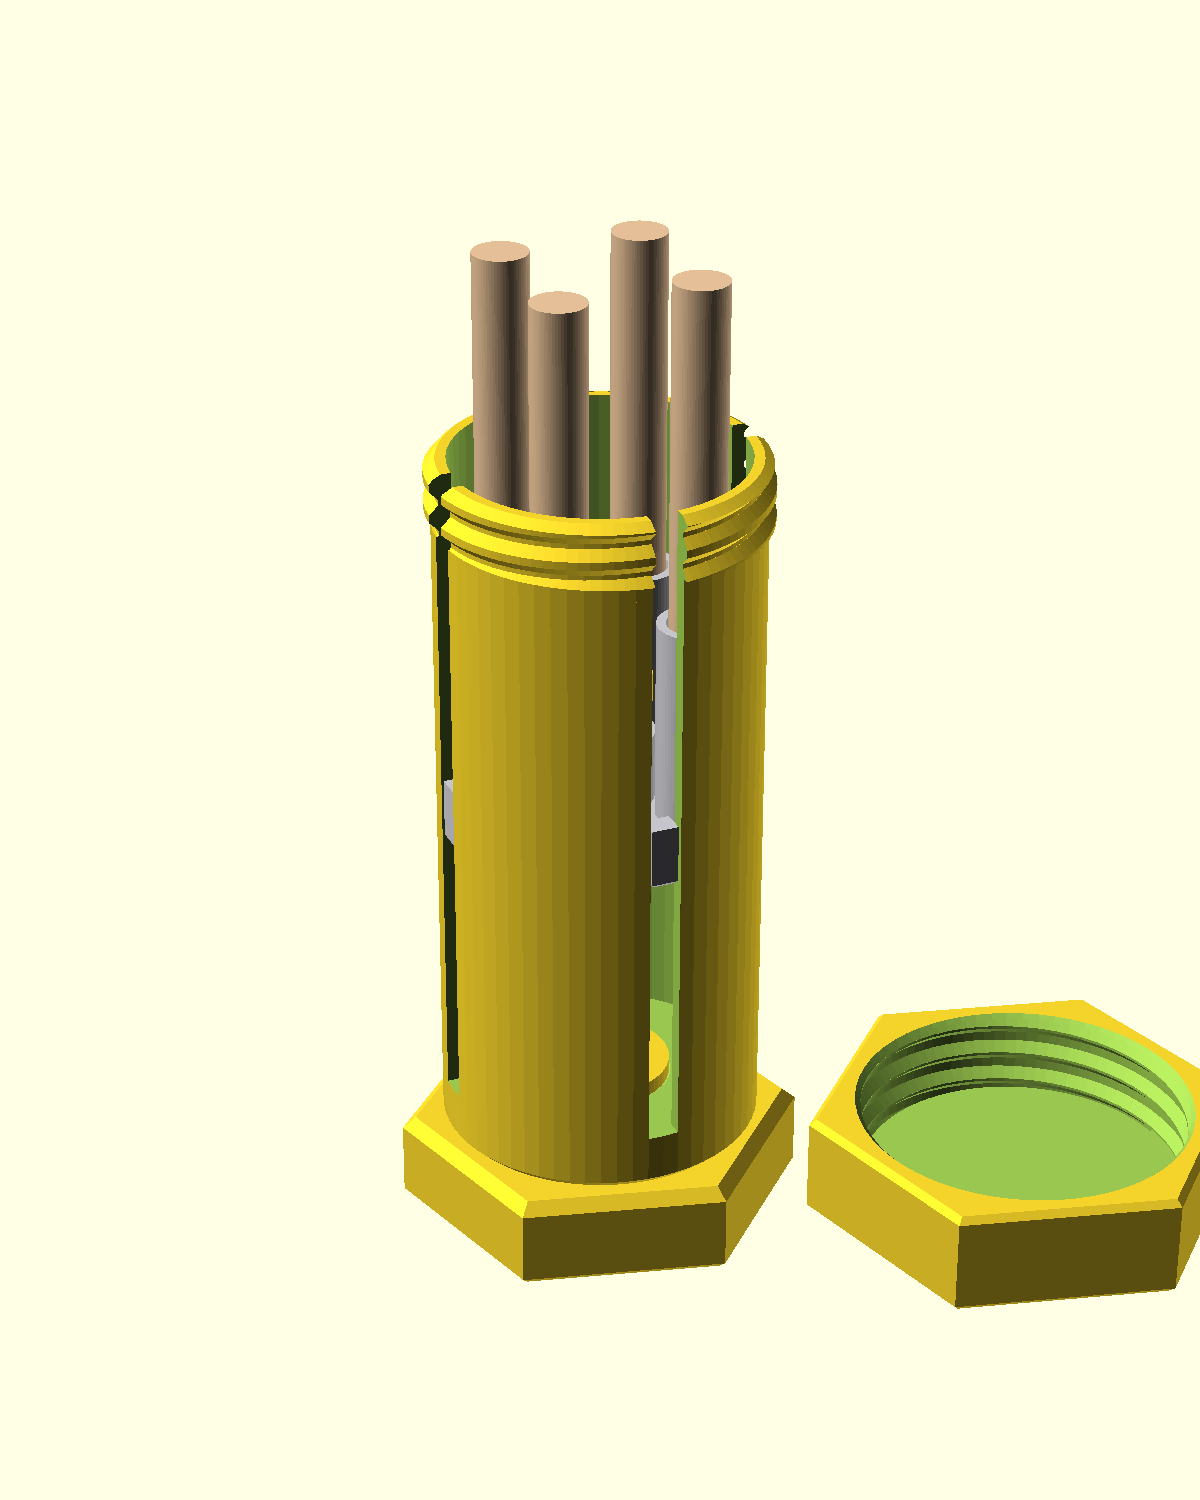
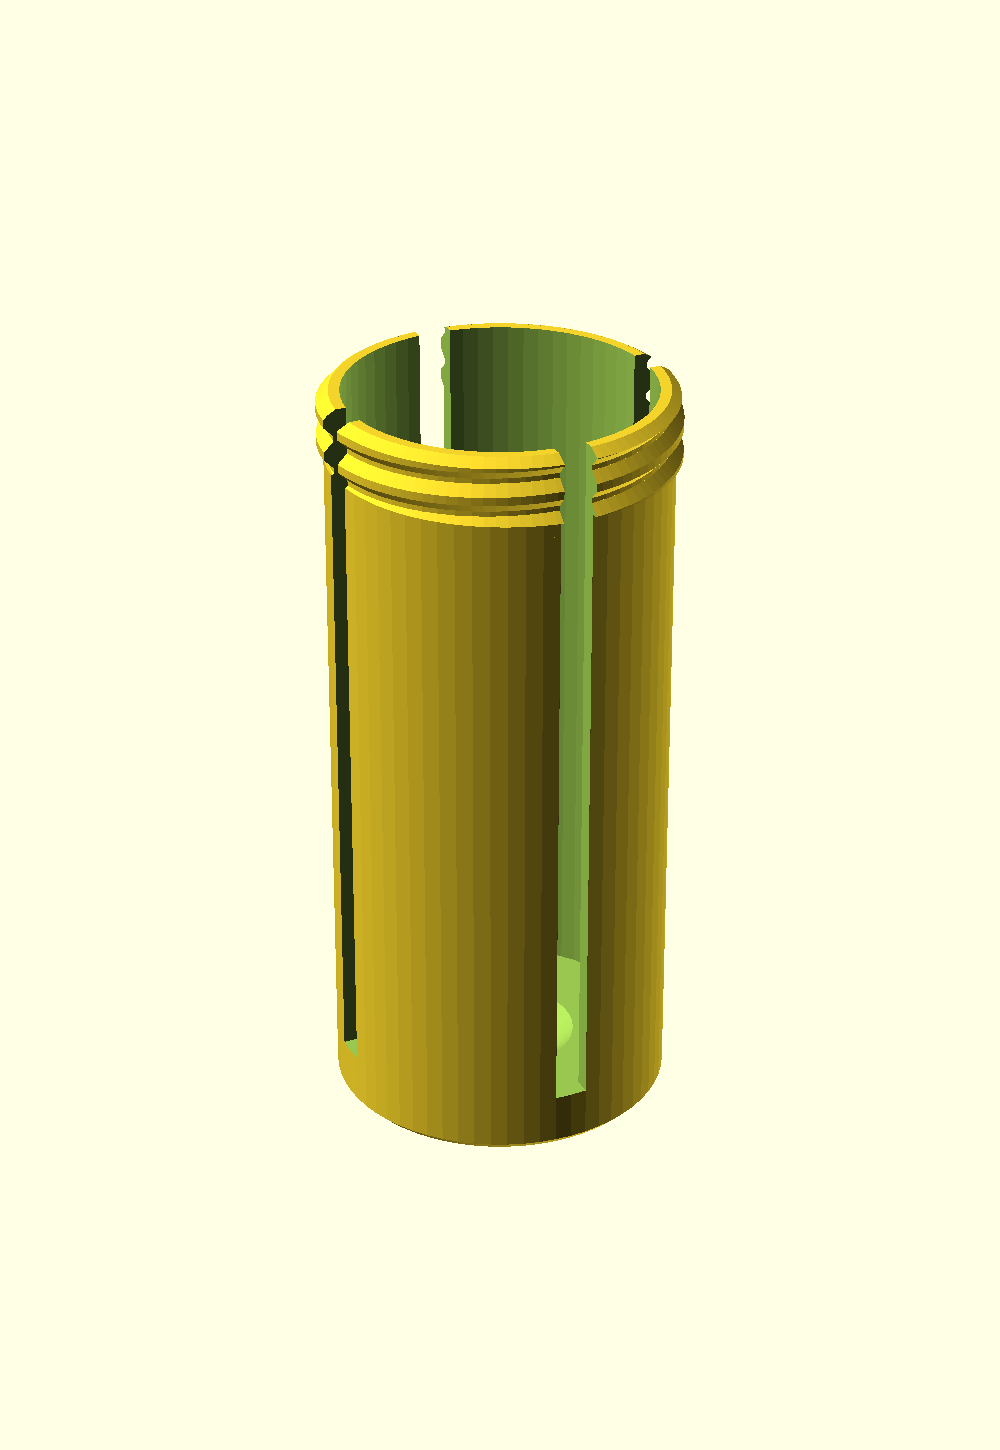
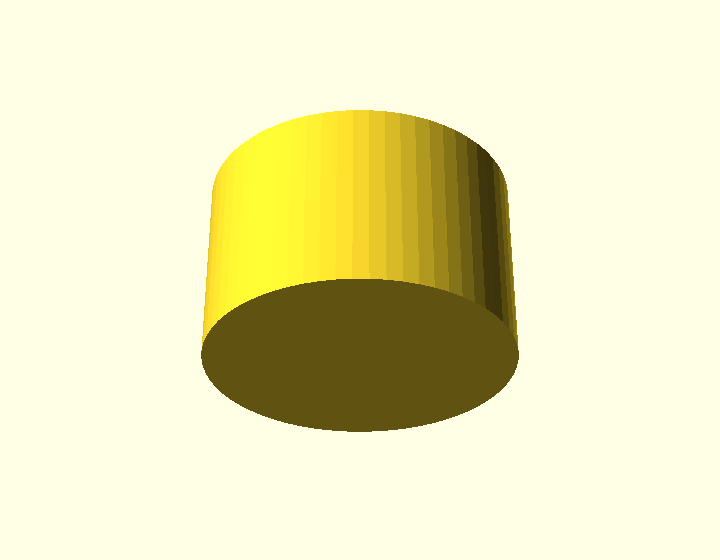
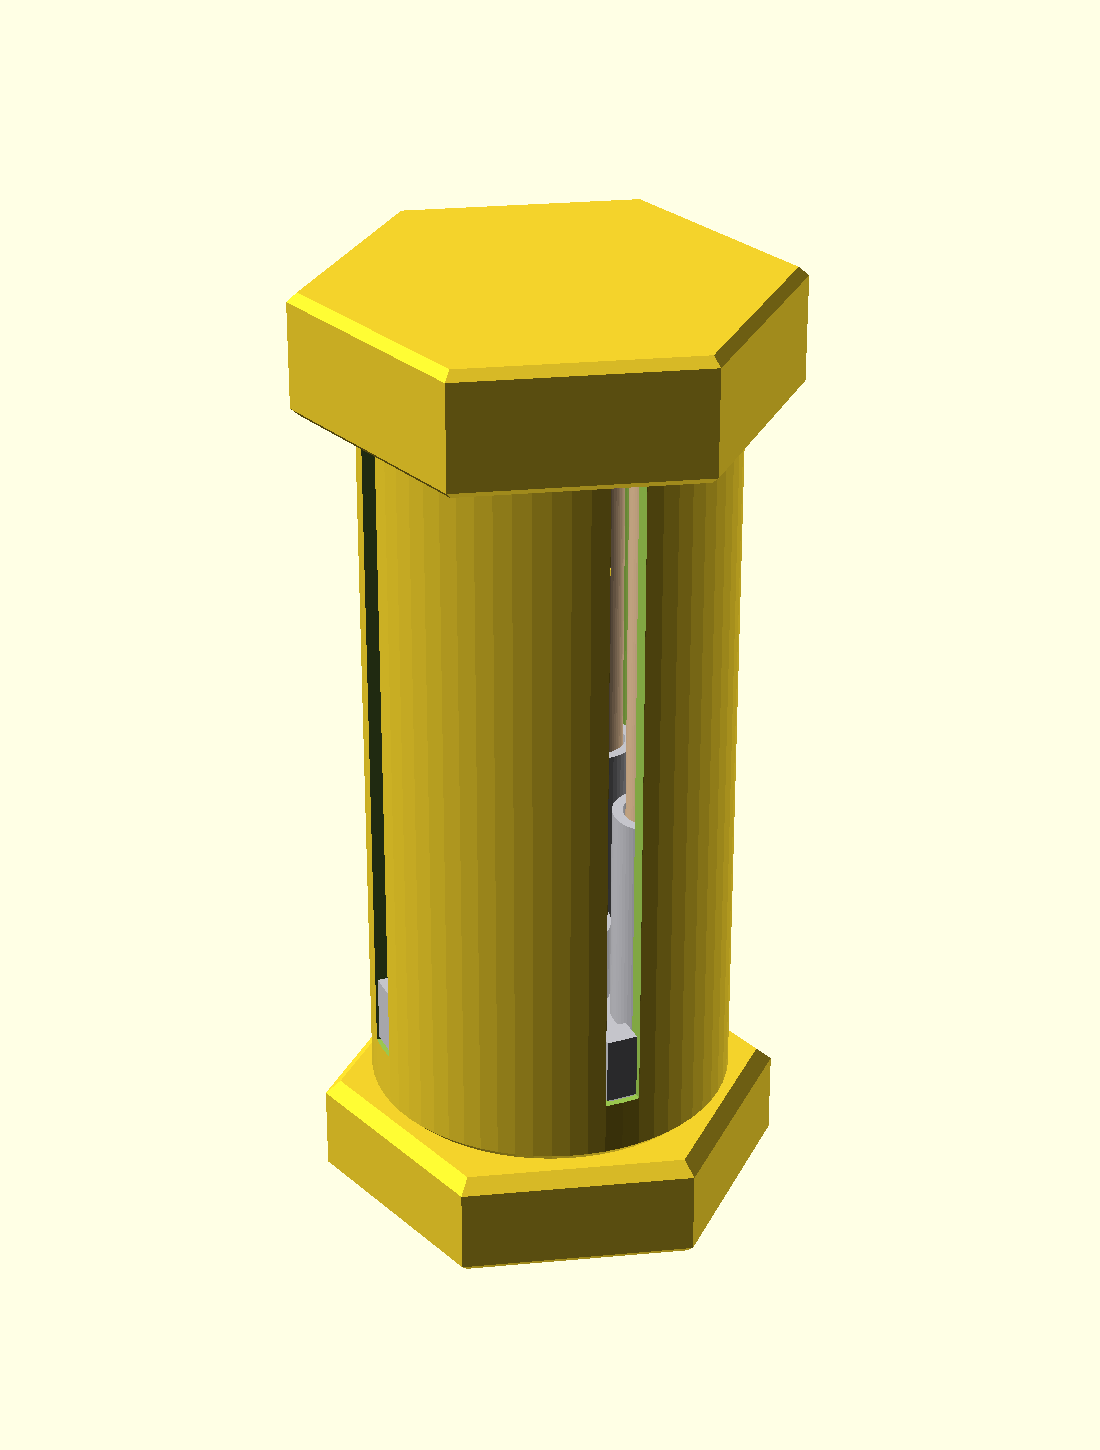
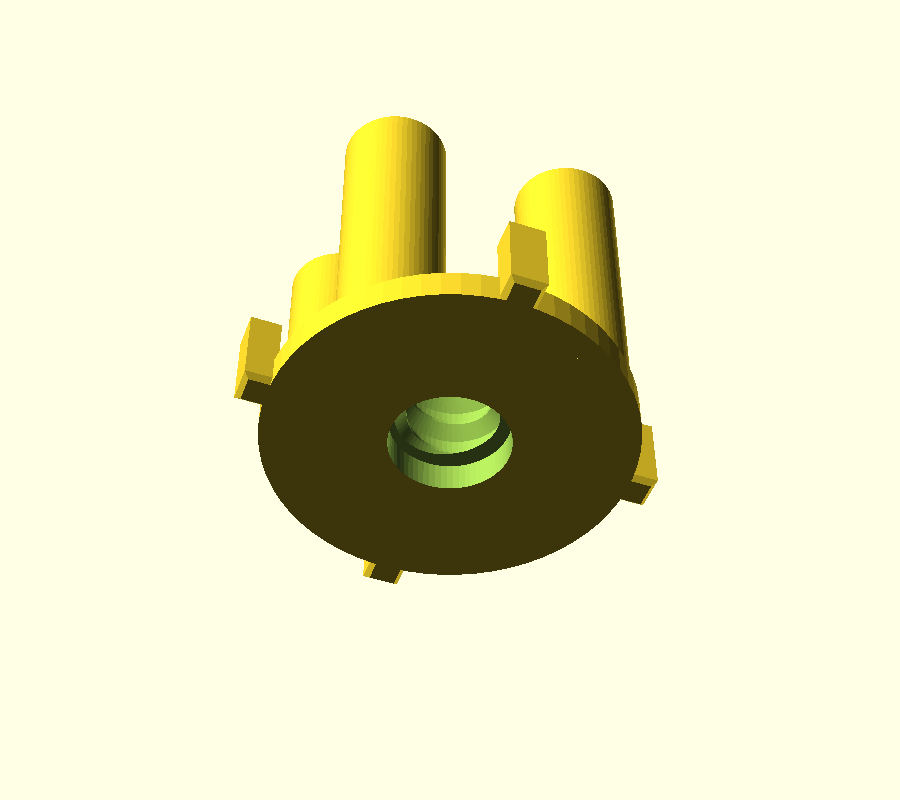
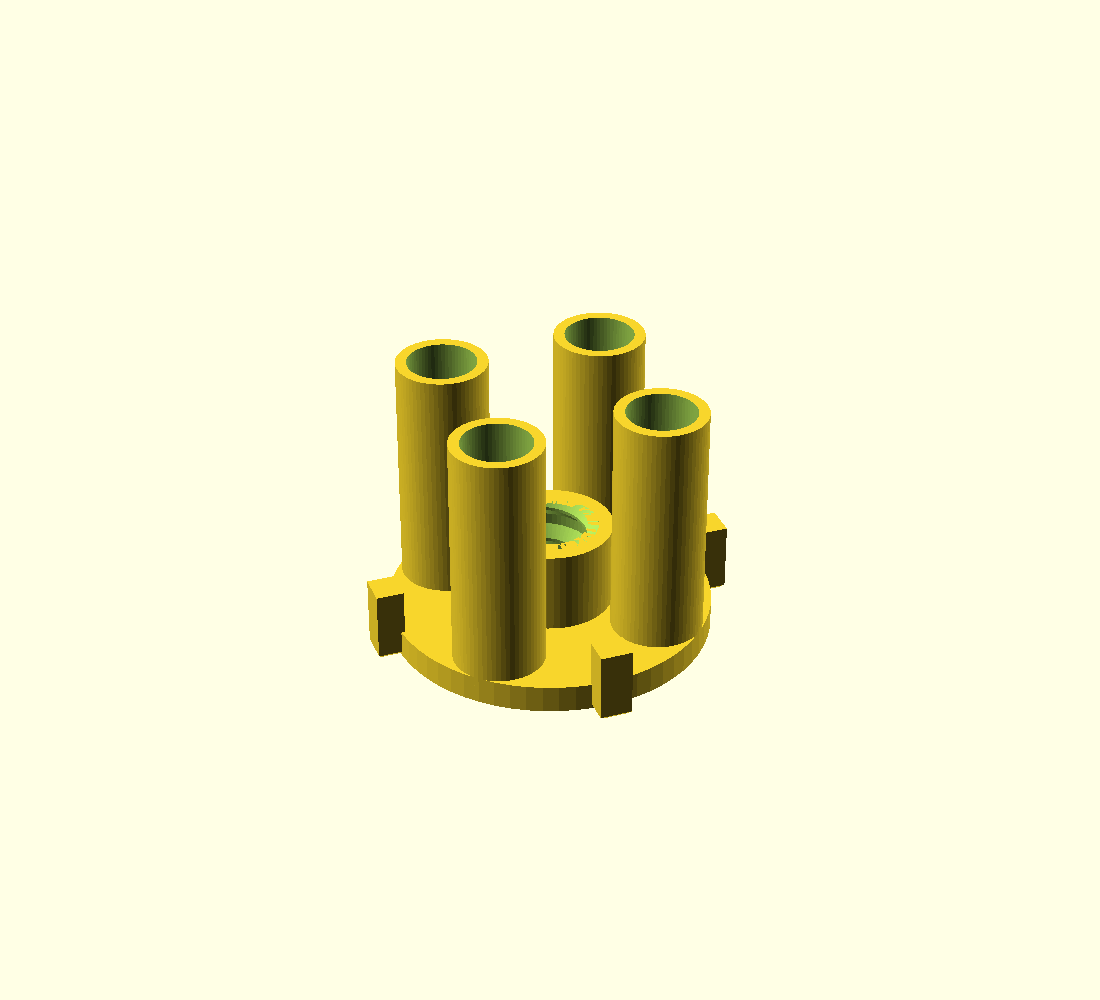
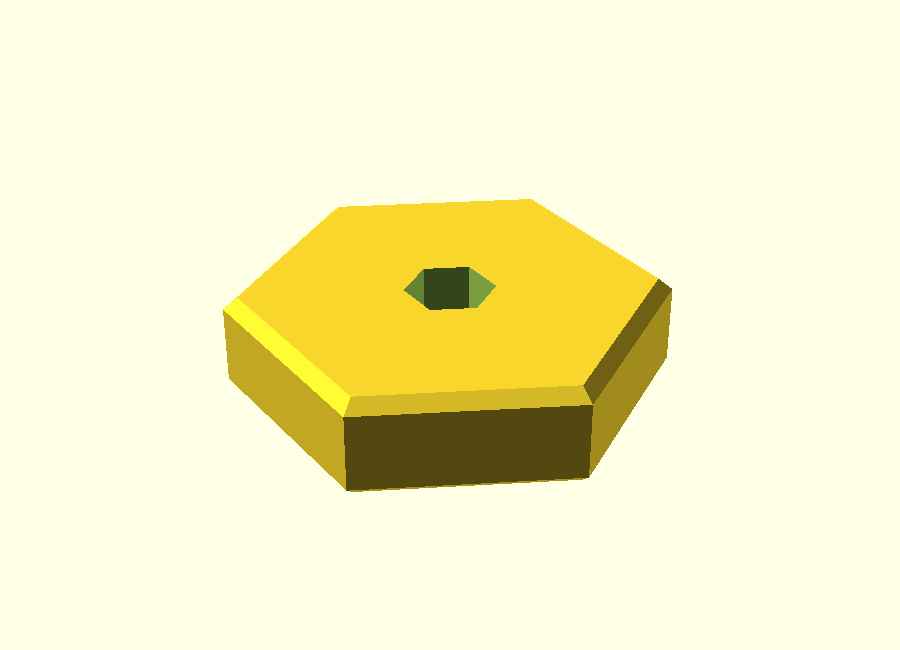
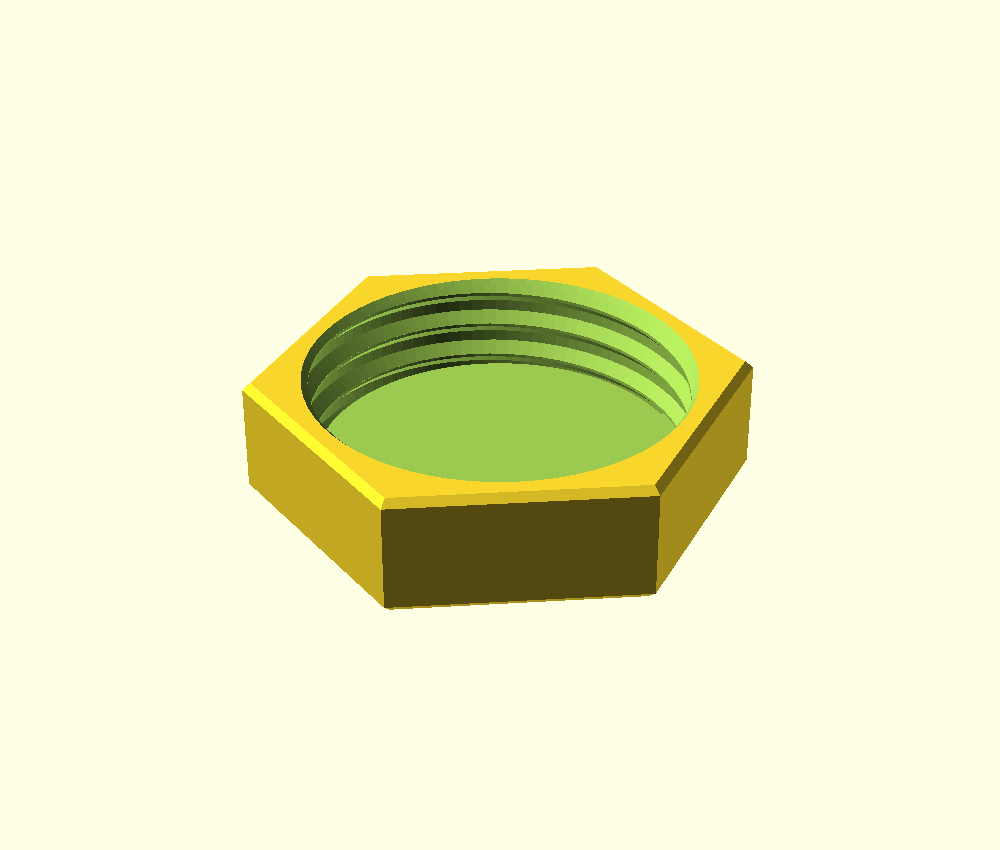
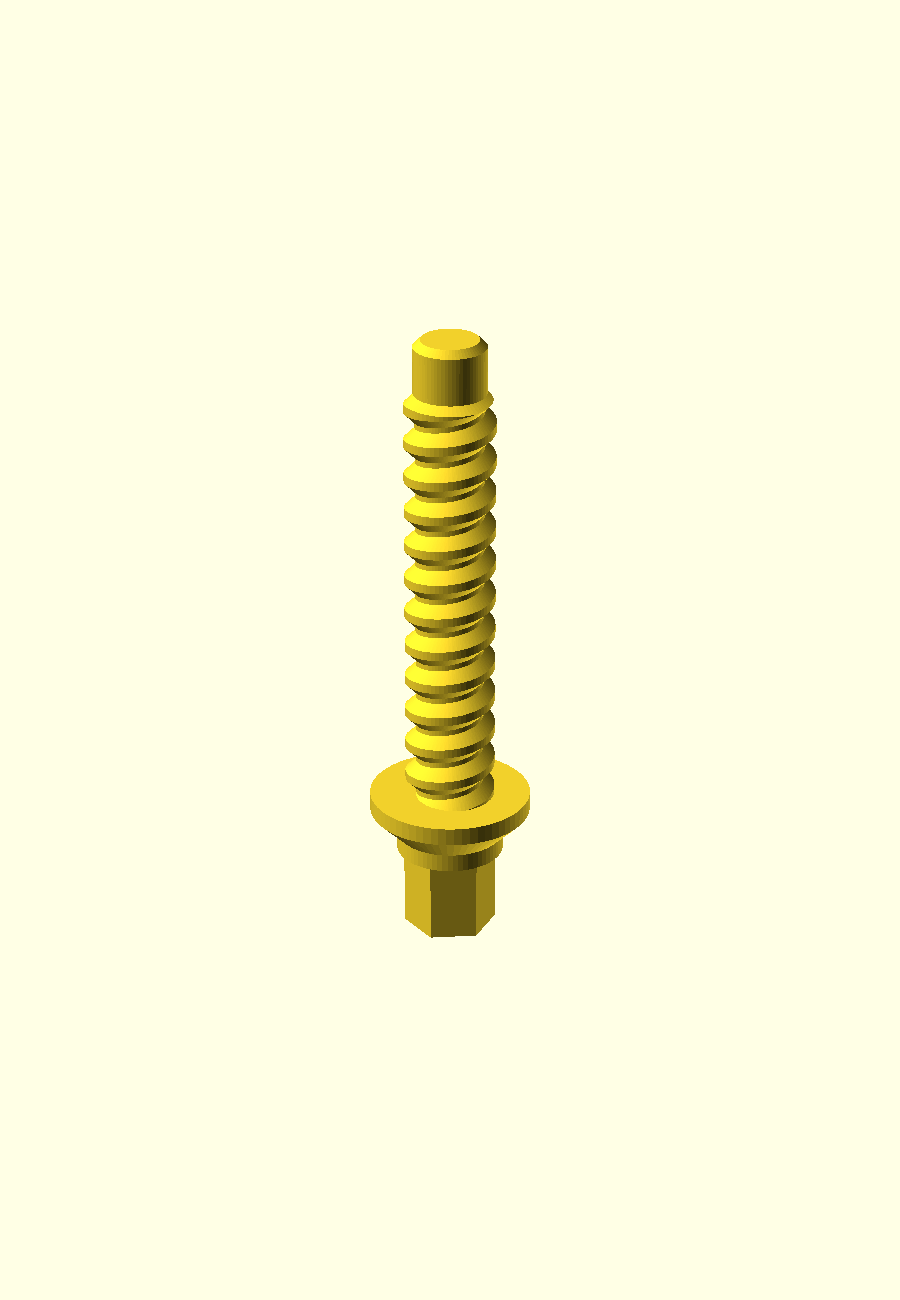
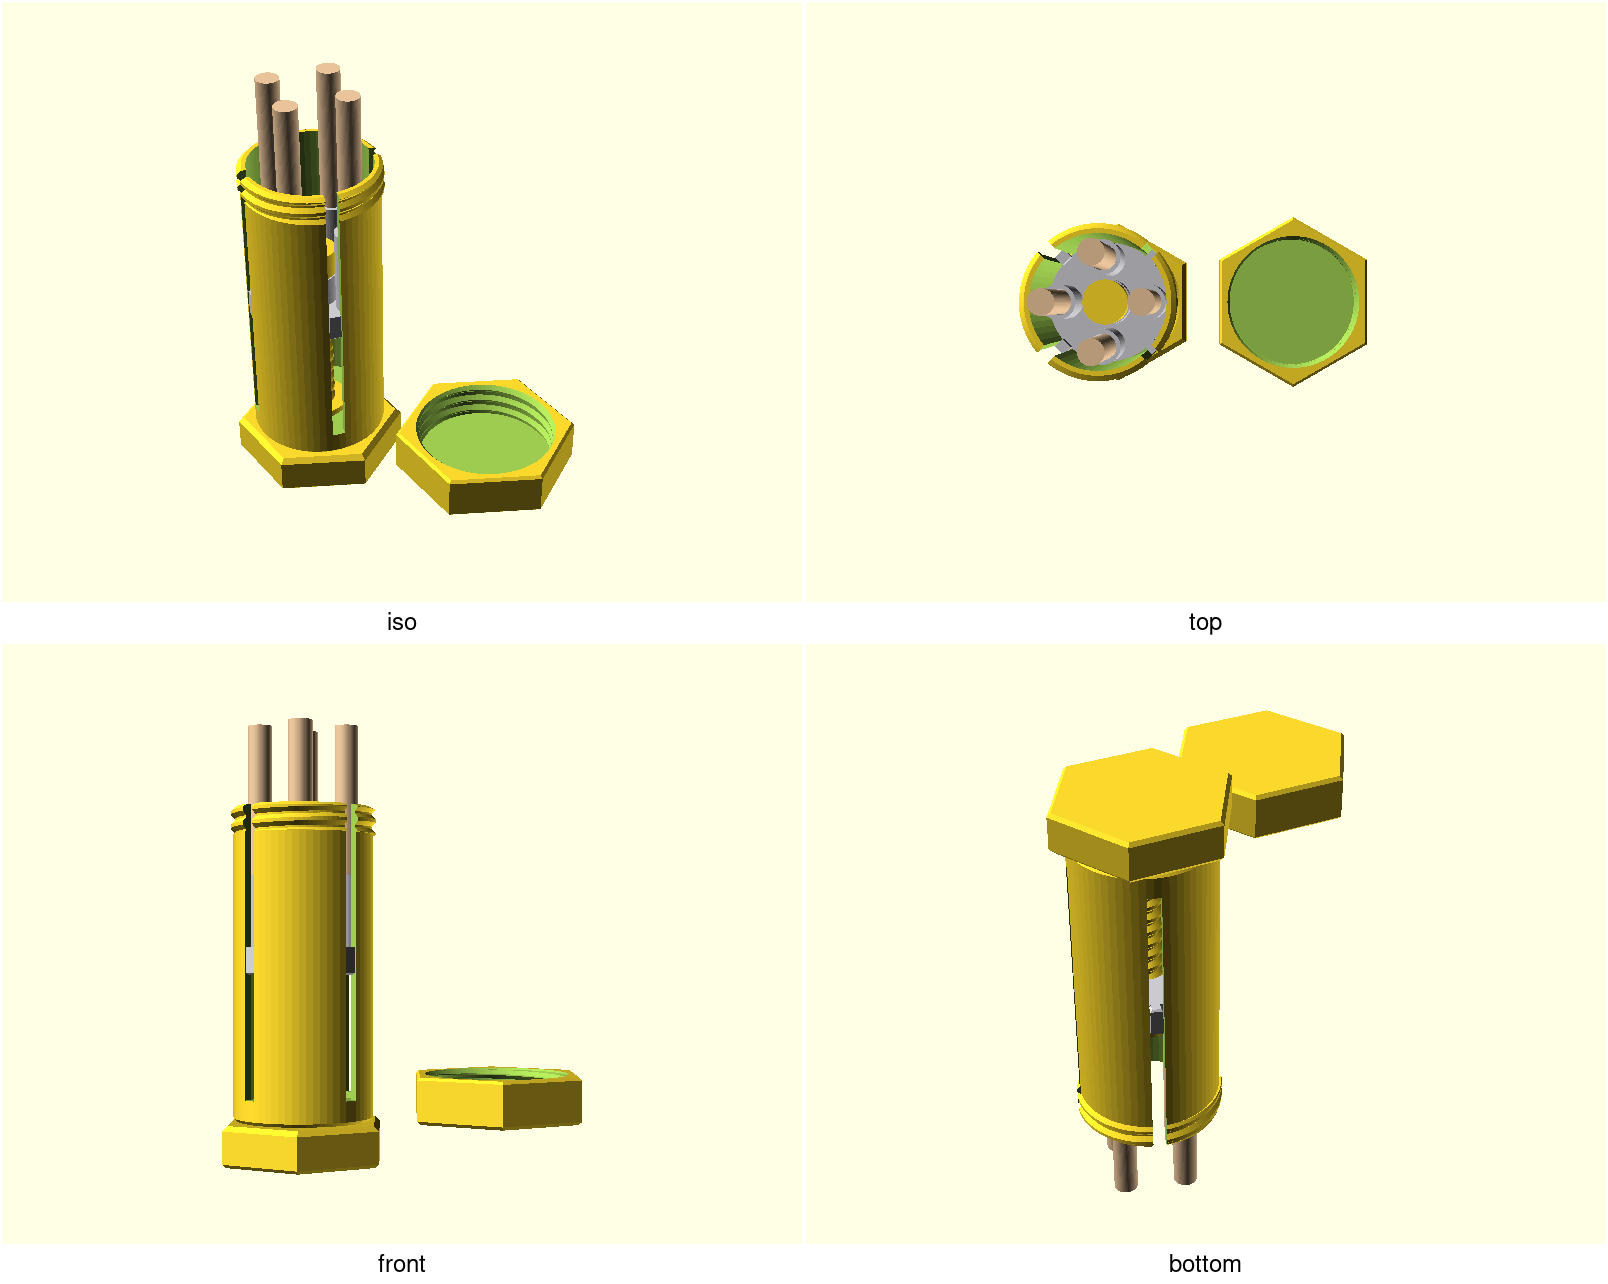
A twist-up dispenser for pre-rolls, built like an industrial hex bolt. Unscrew the hex cap-nut lid, twist the bolt-head knob at the base, and a central lead-screw raises four pre-rolls in a ring so their tops rise out the top to grab. Twist back and they retract; screw the lid on to close. It works on the same idea as a chapstick or glue stick — twist up, twist down — though it's a deliberate multi-turn dispenser, not a one-flick pocket stick. The inside is honest about it: the elevator is literally a nut climbing a bolt.
Ships dialed for slim "dogwalker" pre-rolls (4 × Ø7 × 70 mm) and is fully
parametric — one size preset covers 1¼, 98-special and king-size rolls, or set
your own diameter and length. Preset lengths are the roll's total length:
standard cone sizing already includes the filter tip, so a "70 mm dogwalker" is
70 mm end to end. Rolls with an extra-long crutch go to custom.
A sizing note, before you print. The preset diameters (Ø7–8.5 mm) are the
straight pre-rolled-tube / hand-rolled class — not the wide mouth of a
pre-rolled cone, which runs ~Ø10–12.5 at the mouth and tapers to ~Ø5 at the
filter. A tapered cone dropped filter-down sits loose in these cups (it touches
only near the rim) and will rattle in carry; mouth-down it won't seat at all. If
you run pre-rolled cones, start from custom with roll_d set to your cone's
mouth diameter and tune the drop-in with cup_slip (see Print settings) — that
stops the mouth-down non-fit, though a straight bore still can't grip the taper.
Cone-true tapered cups are on the backlog; they wait on a measured sample.
It reads like shop hardware because it's sized like it: about 41 mm across the shank, 47 mm at the lid, 110 mm tall, ~62 g in PLA. The chapstick comparison is about how it works — this is a benchtop object, not a pocket one.
Designed and gated, not yet field-printed. The fits and clearances below are as-modeled — dialed on assumed dimensions, with no physical sample yet. The "print this first" coupons and the first real print are how you confirm them on your own printer; until then, treat the feel claims as intent, not measurement.
What you get
- A six-part printed dispenser —
body,lid,screw,knob,elevator,cap. No metal fasteners, no bought-in hardware; everything is printed and assembles by hand. (The knob is a press fit — a drop of glue is optional there, never required. Leave the top cap unglued: it must pop off for routine cleaning.) - Twist-to-present, twist-to-retract action from a printable trapezoidal lead-screw. The single-start thread is self-locking in theory — the lead angle sits well under PLA's friction — so the rolls should hold their height and not sag closed on their own. (No field print has confirmed it under load yet; that's the first backlog item.)
- Four rolls carried in a ring around the central screw, so the mechanism lives in the dead centre and steals no roll space.
- The screw is captured by the body floor — its flange sits above the floor, the hex knob presses onto a torque-key stub below it, so the screw spins freely but can't lift out. No separate retainer, no fasteners.
- A press-on top cap is the pop-up stop: the elevator threads on over the bare screw tip during assembly, then the cap presses onto the tip so the elevator can't wind off the top. (A stop built into the screw would trap the nut, so the stop is a separate part added last — and it makes the elevator liftable for cleaning without disturbing the knob.)
- A screw-on hex cap-nut lid that caps the top opening for carry.
- Two "print this first" coupons to dial the fits to your printer before you commit to the full tube.
- Because the six parts print as separate objects, one filament swap — body in one colour, knob, lid and cap in another — reads like two-tone machined hardware.
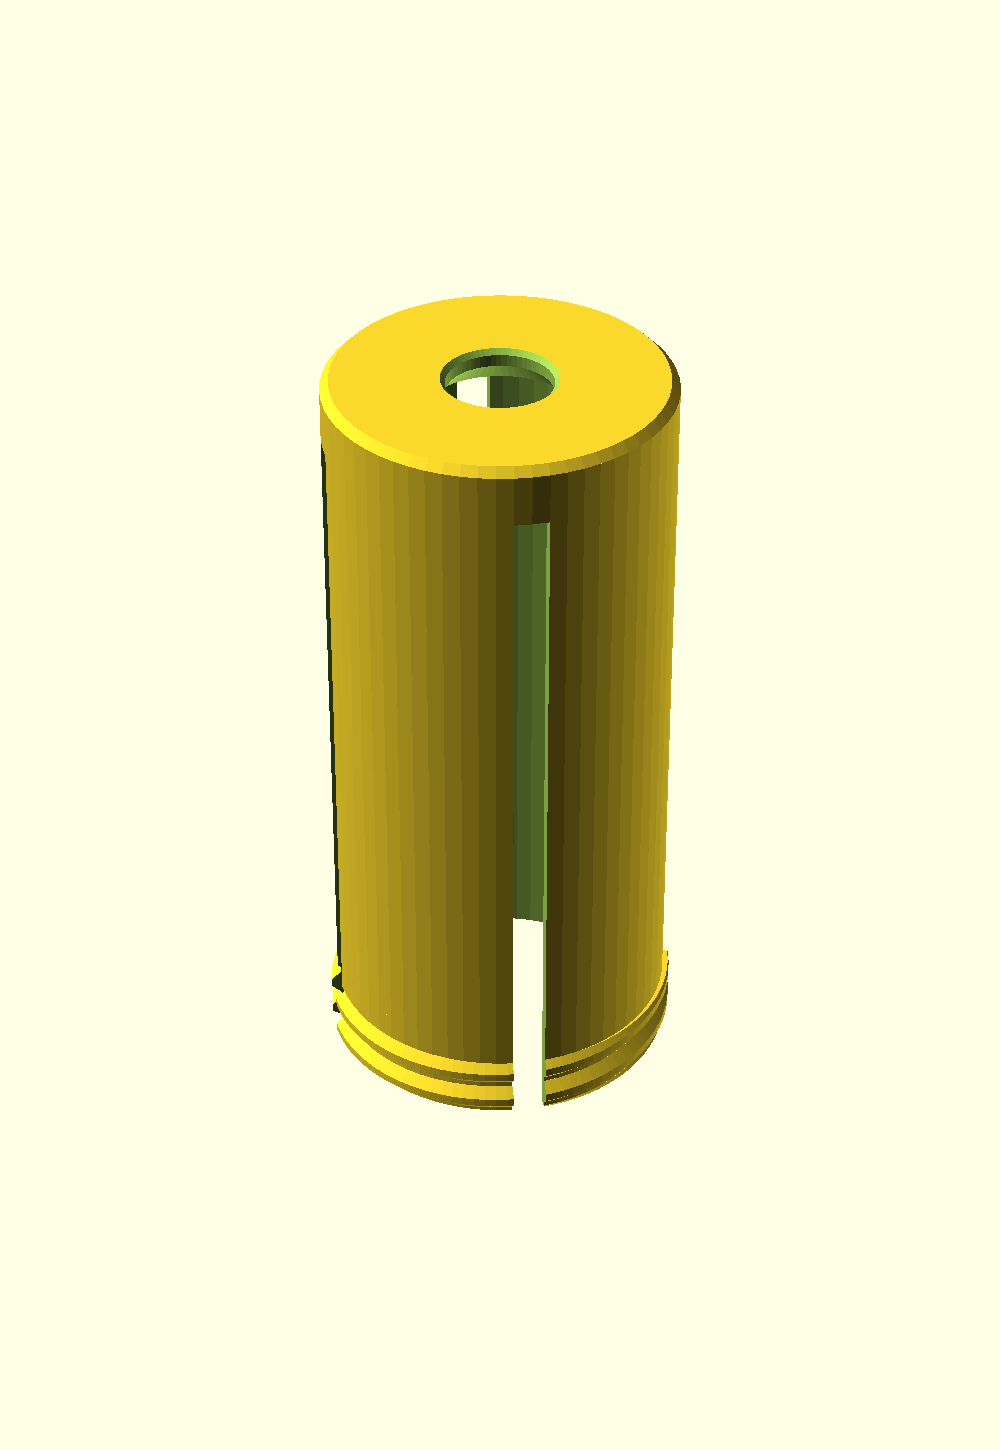
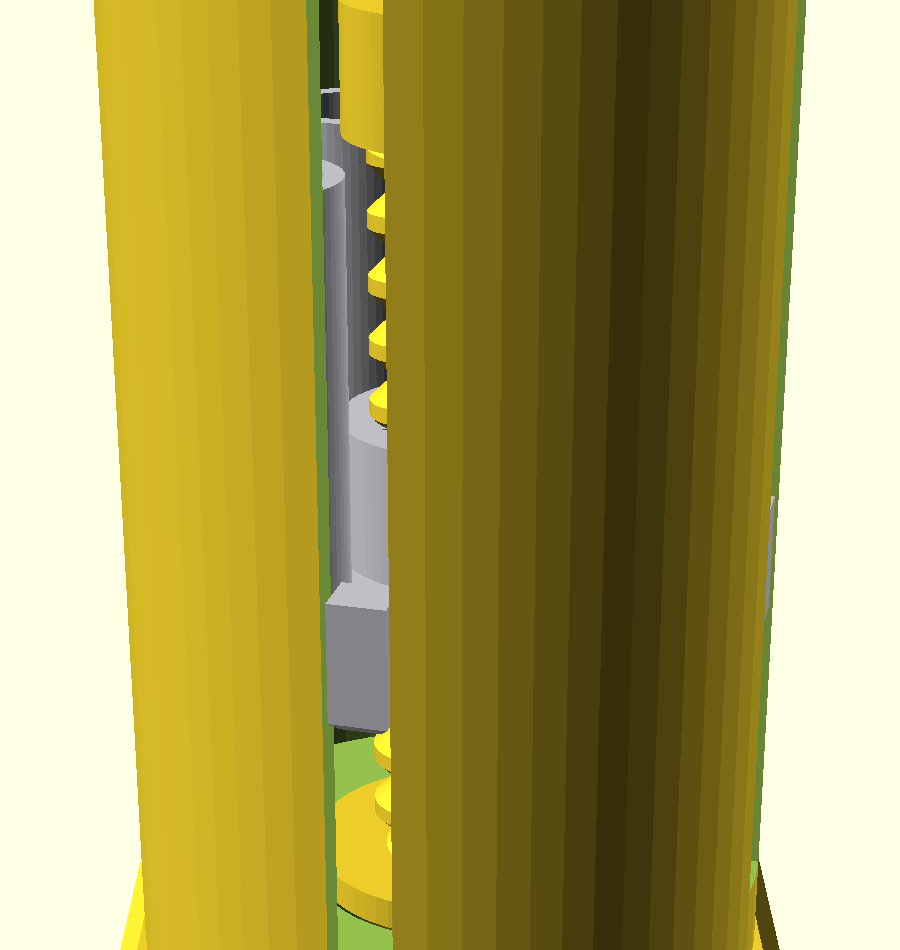
It's a vented cage, not a sealed container. Four full-length slots run down the shank (they guide the elevator and let the tabs drop in from the top) — a deliberate part of the mechanical look that also lets you see how many rolls are left. The lid caps the top opening, but the body is not airtight or odor-sealing. A solid-wall variant is on the backlog.
How it works
Twist the base knob → the central screw spins → the elevator (a nut, held from rotating by four tabs riding the slots) climbs the screw and lifts the cups. The press-on cap at the top of the screw sets the travel; the flange-on-floor seat takes the downward load and the press-on knob keeps the screw captive.
It's a deliberate dispenser feel, not chapstick-fast: the self-locking single-start thread trades speed for hold, so it's roughly 9 turns to raise and 9 to retract. You'll usually stop winding as soon as a roll clears the rim — but capping means going all the way back down, so the tops drop below the mouth (the lid can't go over raised rolls).
Print settings
- FDM, 0.4 mm nozzle. Print the threaded parts (
screw,elevator) in PLA: PETG strings and wants +0.05–0.1 mm on fits, which turns a coupon-tuned thread gritty, and the elevator's near-bed turns are the sensitive spot. PETG is fine (and feels nicer) on theknobandcap. Run the coupon in whichever material you print the threads in — and if you want a PETGlid(a third threaded part), bumpthread_tolto ~0.4 (still free-running for the PLA central pair) rather than printing a PLA-tuned cap-nut in PETG. - Seam position: Scarf (or Back). The stock Aligned seam stacks a vertical ridge that spends 0.05–0.15 mm of every tuned clearance — cup bores, slot walls, both threads — in one place; Scarf spends it nowhere. Cheapest fit insurance here.
- Walls ≥ 1.2 mm throughout (3 perimeters).
- Layer height: 0.20 mm. The quoted print times/weights and the coupon-tuned thread feel both assume it — the 4 mm-pitch thread's 45° flanks quantize into a layer staircase, so a draft-height profile shifts the fit you dialed on the coupon. Drop the body to 0.16 mm only if it rings (see below).
- Keep auto-supports OFF. No part needs them, and painted supports into the slots or either thread would weld the mechanism shut — the slots guide the elevator, the threads are the whole drive.
- Print orientations (all supportless): body base-down / mouth-up; screw thread-up (hex stub on the bed); knob hex-flat-down (socket up); elevator cups-up; lid closed-top-down; cap flat (bore up).
- Slow outer walls on the body and the screw. The screw is a tall column on a small hex-stub base — print it with a brim and reduced outer-wall speed/acceleration so it doesn't ring or tip (its flange adds mass low down, so that's enough). The body has the same disease with higher stakes: four tall thin wall arcs between the slots, with the lid thread waiting at the top if the mouth goes oval — so slow its outer wall too, and if it still rings, drop the body to 0.16 mm layers. After removing the screw's brim, dress the hex stub's bottom 2 mm with a file or 400-grit before pressing the knob on — the brim leaves flash on the very hex the knob grips (7+ mm of hex engagement remains, so the key loses nothing).
- Print these first (two coupons):
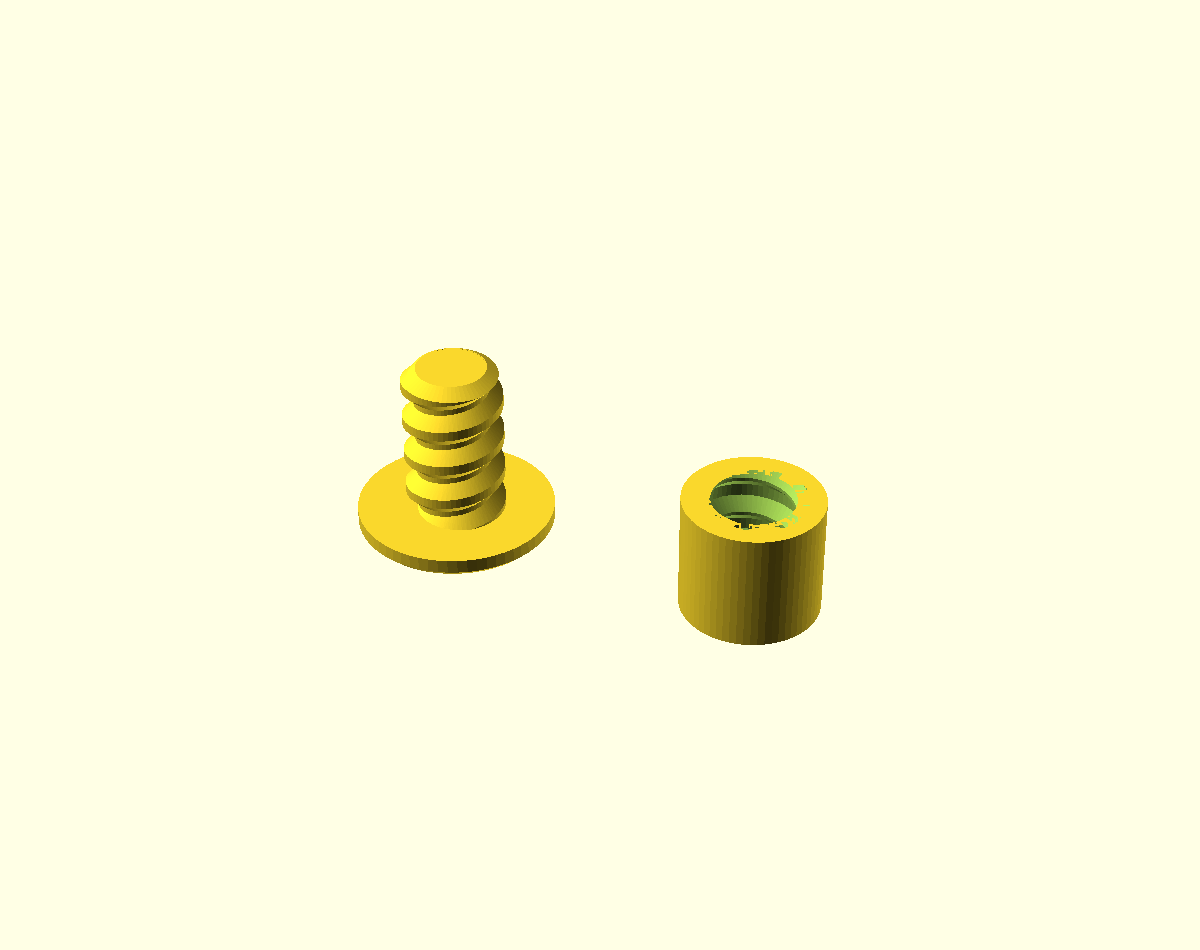
preroll-elevator-coupon.scadis the central screw stub and the elevator nut ring side by side — screw them together and adjustthread_tolin ±0.1 mm steps until the nut runs free with slight play (or print a labelled range at once with./scripts/render.sh preroll-elevator --sweep thread_tol=0.2:0.4:0.1). The samethread_tolsets the lid, so re-check the lid after changing it. Then switchparttotab-fit-couponin the Customizer and print the slide pair — if the tab scrapes rather than slides, openslot_wby 0.1 mm. The knob's hex-key fit isknob_key_clearand the cap's iscap_fit— both firm presses; if either needs more than a firm push, open it in 0.05 mm steps rather than forcing the part. After the threads,cup_slipis the fit to tune for the payload, and it goes both ways: if a fat or tacky roll drags the elevator up as you pull it out, opencup_slipa touch; if a roll (especially a tapered cone) rattles loose in the cup, closecup_slipa step — or setroll_dto your cone's mouth diameter viacustom. Print the coupons over a tray — they're small and bright and will find the floor. One heads-up: the elevator's first engaged thread turn prints over the disk bore (bridging in), so it can feel slightly gritty until it beds in — that's the part, not yourthread_tol. - Deliverable: the six parts print separately, so the sliceable file is the
multi-object plate
build/preroll-elevator-plate.3mf(six distinct objects), not a single STL of the assembly (that would import as one welded body). - Total print time: the full set is roughly 6 h / ~62 g in PLA across the six parts, plus ~50 min / ~8 g for the two coupons (from CI's test-slice; your printer will vary).
Parameters
The parameters worth tuning (full set with units in preroll-elevator.scad):
| Parameter | Default | What it does |
|---|---|---|
size_preset | dogwalker | dogwalker / 1.25 / 98 / king / custom — sets roll diameter & length; the body and cups resize to fit. |
roll_d_custom, roll_len_custom | 7.0, 70 | Your own roll size when size_preset = custom. |
pop_up | 36 mm | Elevator travel. Loaded rolls rise ~32 mm above the rim (travel minus the 4 mm retract gap); the empty cups stop ~12 mm short of the mouth. |
cup_slip | 0.6 mm | Drop-in clearance around each roll (cup bore = roll dia + this). |
thread_tol | 0.3 mm | Fit clearance for both threads (dial on the coupon). |
knob_key_clear | 0.25 mm | Knob-to-screw hex-key press fit (firmer = less twist slip). |
cap_fit | 0.2 mm | Top-cap press fit over the screw tip (firmer = a more secure stop). |
slot_w, tab_w | 4.0, 3.5 mm | Anti-rotation slot and tab width; the 0.5 mm difference is the slide slop (tune slot_w on the tab coupon). |
Body outer diameter, bolt-circle, tube height and the hex knob size are derived from the roll size and the central hub, so every preset stays geometrically valid and the knob always reads as a head wider than the shank.
Assembly & use
Six printed parts, assembled top-down in six steps — full bill of parts and step-by-step in ASSEMBLY.md:
- Lower the screw into the body from the top — the flange cone seats on the floor countersink and the hex stub pokes out the bottom.
- Press the hex knob onto that stub from below — it's a blind press, so line the socket flats up with the stub's by feel (rotate until it stops clicking past the corners), then push until the knob nearly meets the body underside. The screw is now captured (spins, can't lift out) and the knob transmits your twist through its hex socket.
- Thread the elevator on from the top — its nut passes over the bare screw tip, then catches the thread — tabs aligned to the slots, and wind it down.
- Press the top cap onto the screw tip poking up above the elevator — this is the pop-up stop that keeps the elevator from winding off the top. (The cap is tiny — 0.9 g — so do this over a dish; lose it and you lose the stop.)
- Drop a pre-roll into each cup, filter end down (mouth up). A tapered cone loaded mouth-down only perches on the cup rim, stands proud, and holds the lid open.
- Twist down to retract, then screw the lid on.
To use: unscrew the lid, twist the knob to raise the rolls, take one, twist back down, cap it. Two hexes, and they're not interchangeable: the nut on top is the lid you unscrew to open; the head at the base is the crank — twist the wrong one and the screw just spins free. To refill, raise the empty cups to the mouth first, then drop a roll into each.
Care
Resin and kief will gum the screw thread, the slots and the cups over time. Routine clean: lid off, pop the top cap off the screw tip, and wind the elevator up and off the open top — now the thread, slots and cups all wipe down from above and the knob never comes off. Deep clean (screw out): additionally press the knob off the stub and lift the screw out. The knob and cap are deliberate press fits (snug so nothing slips), so expect to work them off rather than have them fall away. PLA softens in a hot car: keep it off a summer dashboard — PETG resists heat better, but (as above) wants its thread fits re-tuned.