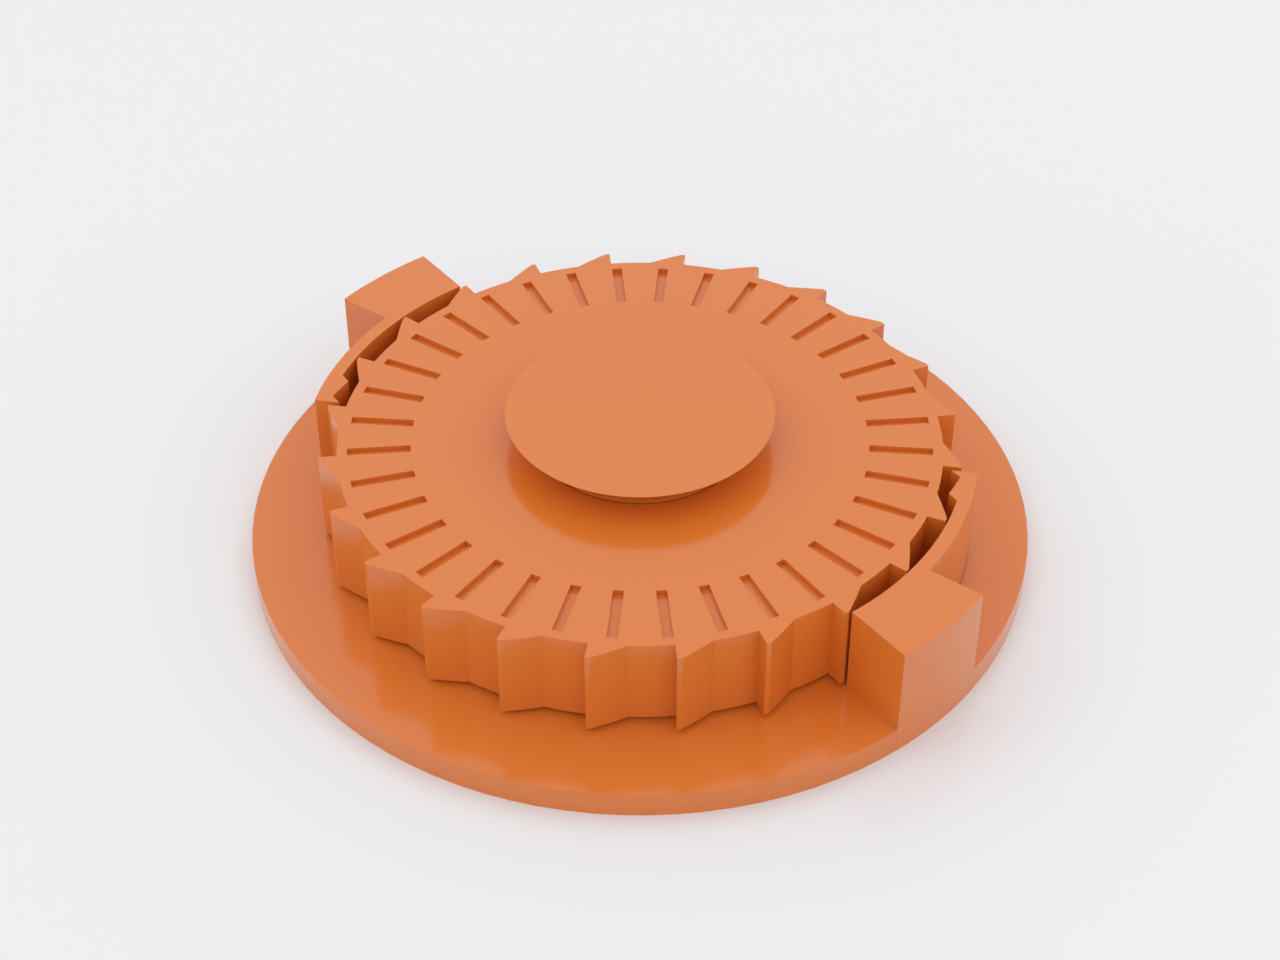
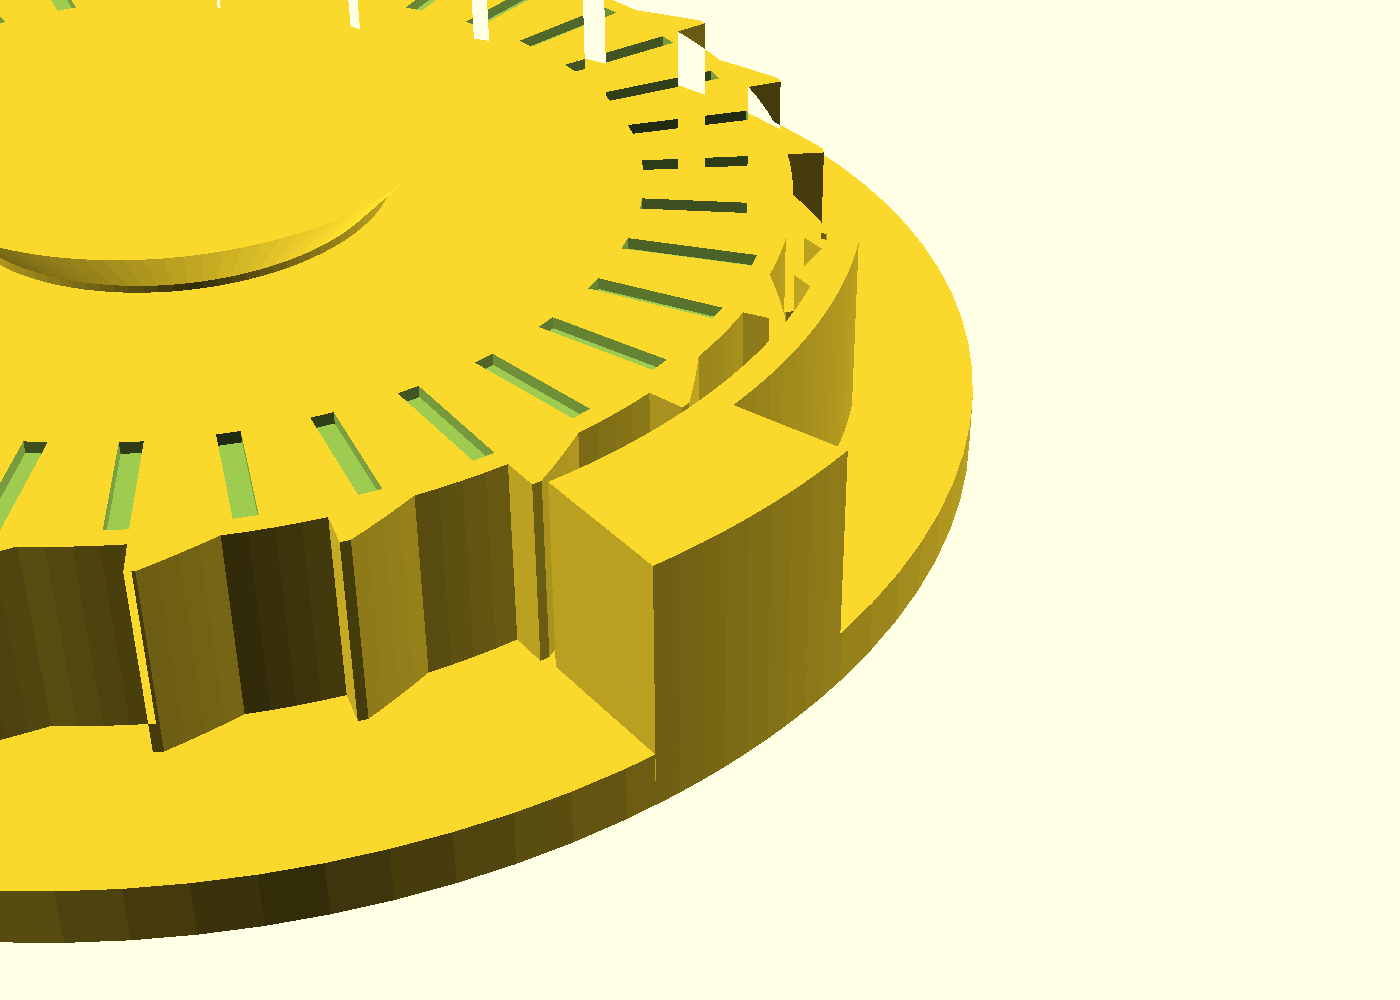
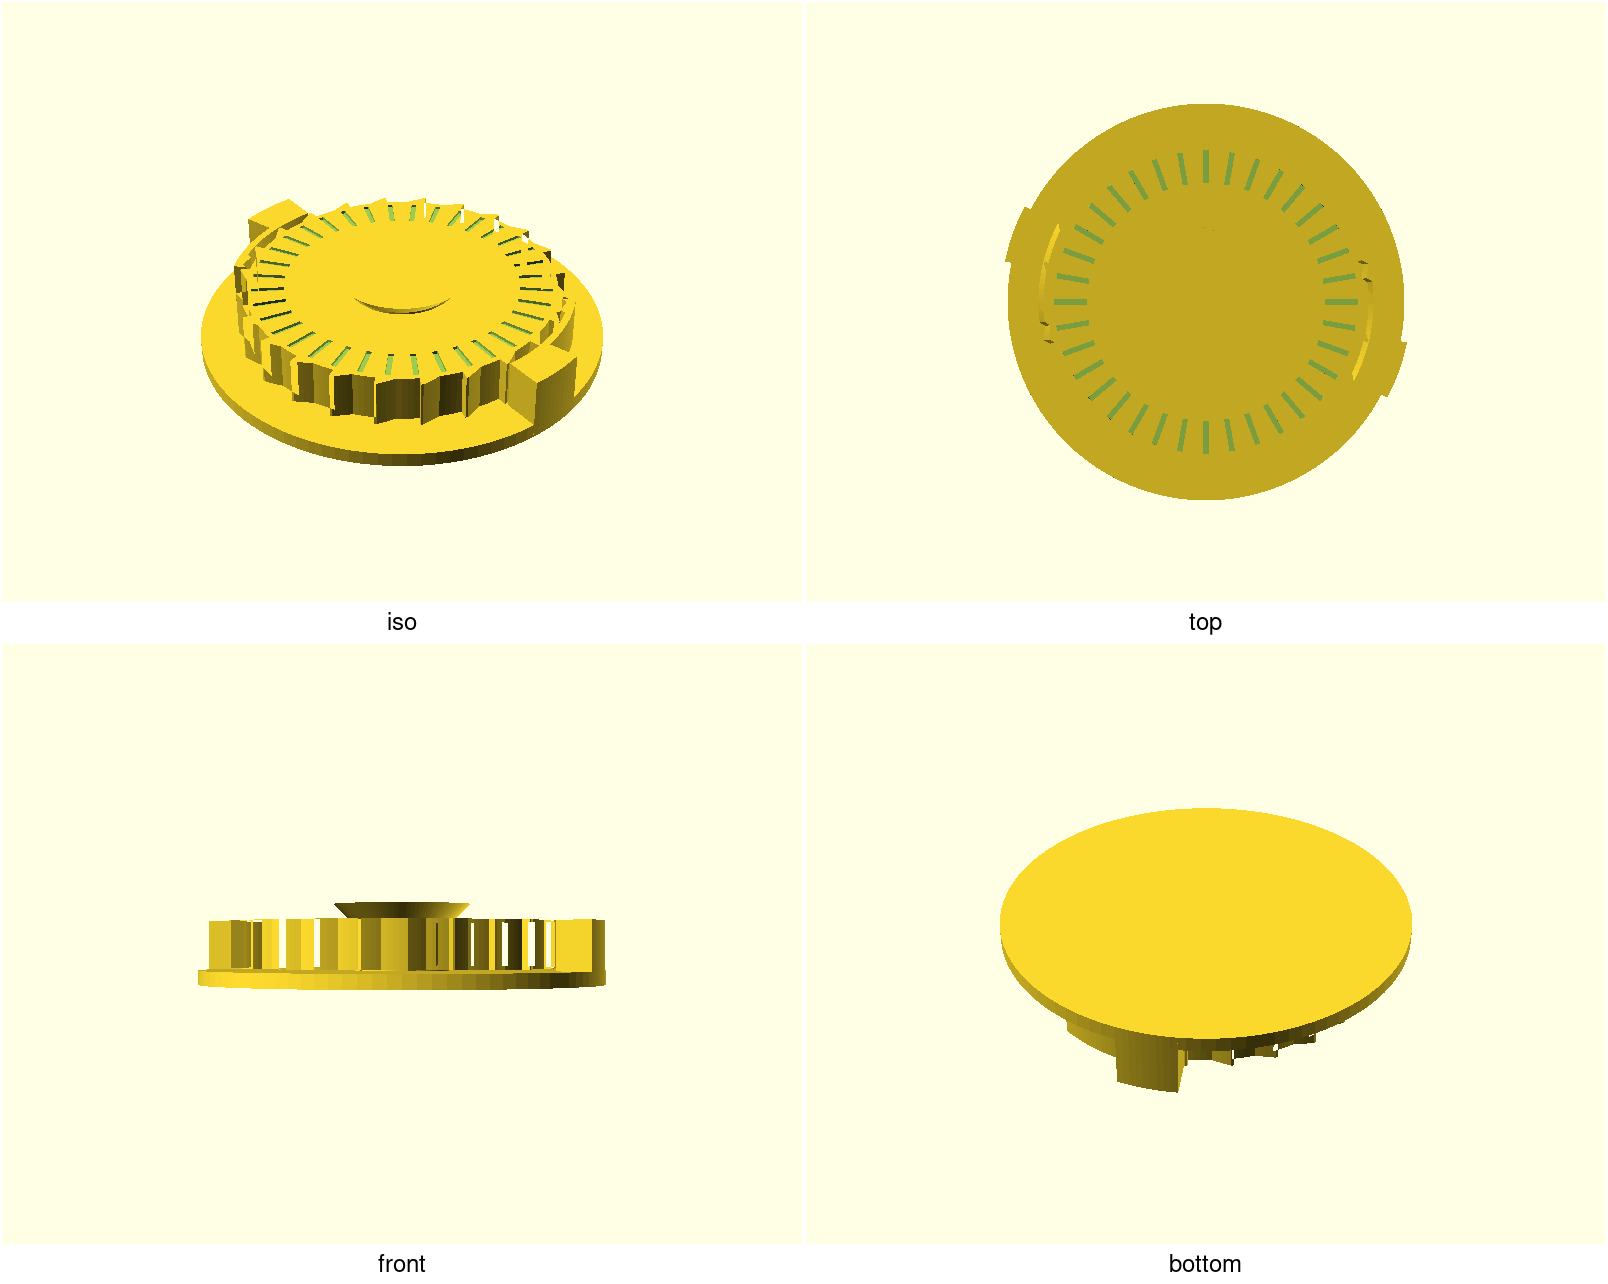
A ratchet wheel printed as one piece, in place: spin it one way and it clicks and freewheels; turn it the other and it locks dead. No supports, no assembly, no fasteners — the wheel, its two springy pawls and the frame leave the printer as a working mechanism after one firm break-free twist. The raised arrow on the wheel marks the free direction.
What you get
pip-ratchet— the assembled demonstrator, one captive 24-tooth Ø56 wheel between two diametric pawls in a 69 × 69 × 13.7 mm frame (approx.)pip-ratchet-coupon— the tune-first rack-and-pawl strip for dialing the click feel on your printer before committing to the wheel
Print settings
- Material: PETG — the pawls flex every click and PETG outlives PLA on cyclic flex by a wide margin
- Layer height: 0.2 mm — the internal axial clearances are quantized to whole layers at this height; keep it
- Infill: 15% (any)
- Supports: none needed — the capture cone is a self-supporting 45°, and the wheel's first layer over the base is a designed break-free gap
- Seam: set Random (or Back) — an aligned seam stacks one vertical ridge on the wheel rim that sweeps both pawls once per revolution
- Orientation: as rendered, base flat on the bed
- First motion: give the wheel a firm twist in the arrow (free) direction to shear the break-free layer, then enjoy
- If the wheel welds: the internal gaps are ~0.2 mm and a slicer's default
gap-fill/gap-closing (0.2 mm) can eat exactly that — disable gap-fill first.
Then open the gap that actually welded by 0.05 and reprint: tooth tips to
the pawls/frame blocks is
web_clr; the bore to the post isk_xy; the wheel to the base or cap (axial) isz_layers
Print the coupon first if you want to tune the click force — see NOTES.md
"Print this first" for the 0.1 mm sweep of pawl thickness. Expect the coupon's
strip to need a firm first slide too: the far rail is a snug 0.3 mm
(rail_gap, in pip-ratchet-coupon.scad) and
first-layer squish plus bridge sag take a bite of that — that's the break-free
step doing its job, not a failed print.
Parameters
| Parameter | Default | What it does |
|---|---|---|
wheel_dia | 56 mm | tooth-tip diameter of the wheel |
teeth | 24 | tooth count (even — the two pawls sit diametric) |
tooth_depth | 1.6 mm | how deep the pawls ride over each tooth |
drive_flank_deg | 60° | drive-flank (ramp) angle from radial — the ramp spans tooth_depth·tan(angle) of arc, so higher = a longer, shallower ramp; tune feel with pawl_t |
pawl_t | 1.2 mm | pawl beam thickness — the feel knob: stiffness ~ t³ |
pawl_l | 18 mm | pawl beam length, nose to root — the frame block clamps the beam from a fixed 13 mm (block_front_u), so the flexing length stays ~13 mm and this does not change the feel |
lock_gap | 0.5 mm | nose-face to tooth-wall gap in the locked pose |
web_clr | 0.2 mm | tooth-tip clearance to the pawl beams and frame blocks — raise if the teeth weld to a pawl |
k_xy | 0.45 | bore-to-post clearance factor (xy_tol = k_xy·line_w) — raise if the bore welds to the post, lower if it rattles |
z_layers | 2 | axial clearance in whole 0.2 mm layers |
All parameters are at the top of pip-ratchet.scad, grouped in Customizer
sections; override on the command line with -D 'pawl_t=1.0'.
Assembly & use
There is none — that's the point. After the break-free twist, the wheel
freewheels counter-clockwise (each tooth cams a pawl out of the way) and locks
clockwise (each tooth's radial wall butts a pawl's radial nose face — the
self-locking geometry, which cannot cam the pawl back out under load). To
change the lock direction, mirror the pawls: set pawl_angle per pawl and
flip the wheel phase — or just print it and use the arrow.
If the wheel is stiff to free or the clicks feel heavy, drop pawl_t by 0.1
(the coupon sweep shows the whole range on one plate). If anything welded,
raise the clearance for that gap by 0.05 and reprint — web_clr for teeth to
pawls, k_xy for bore to post (see Print settings).