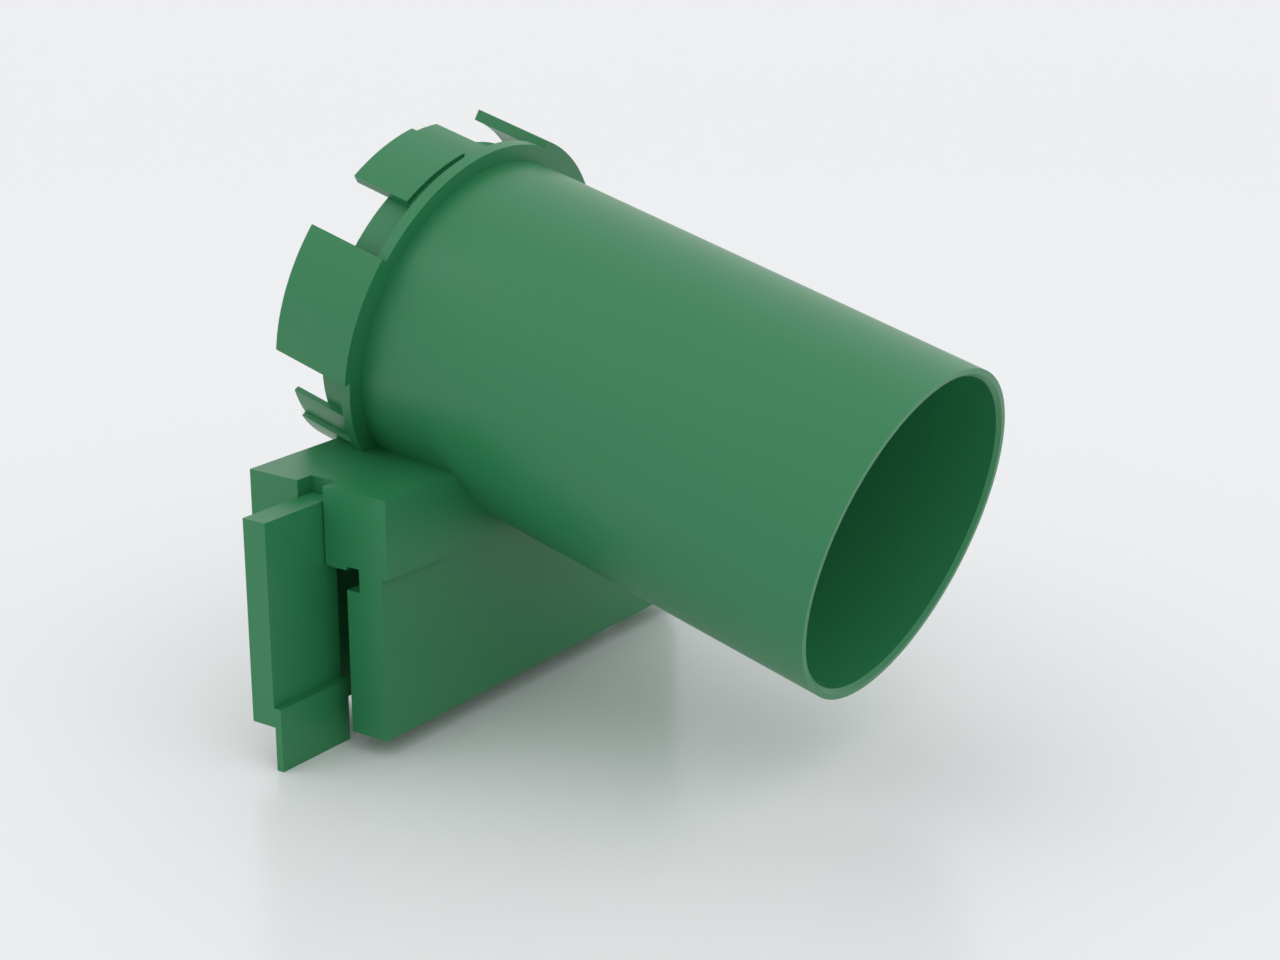
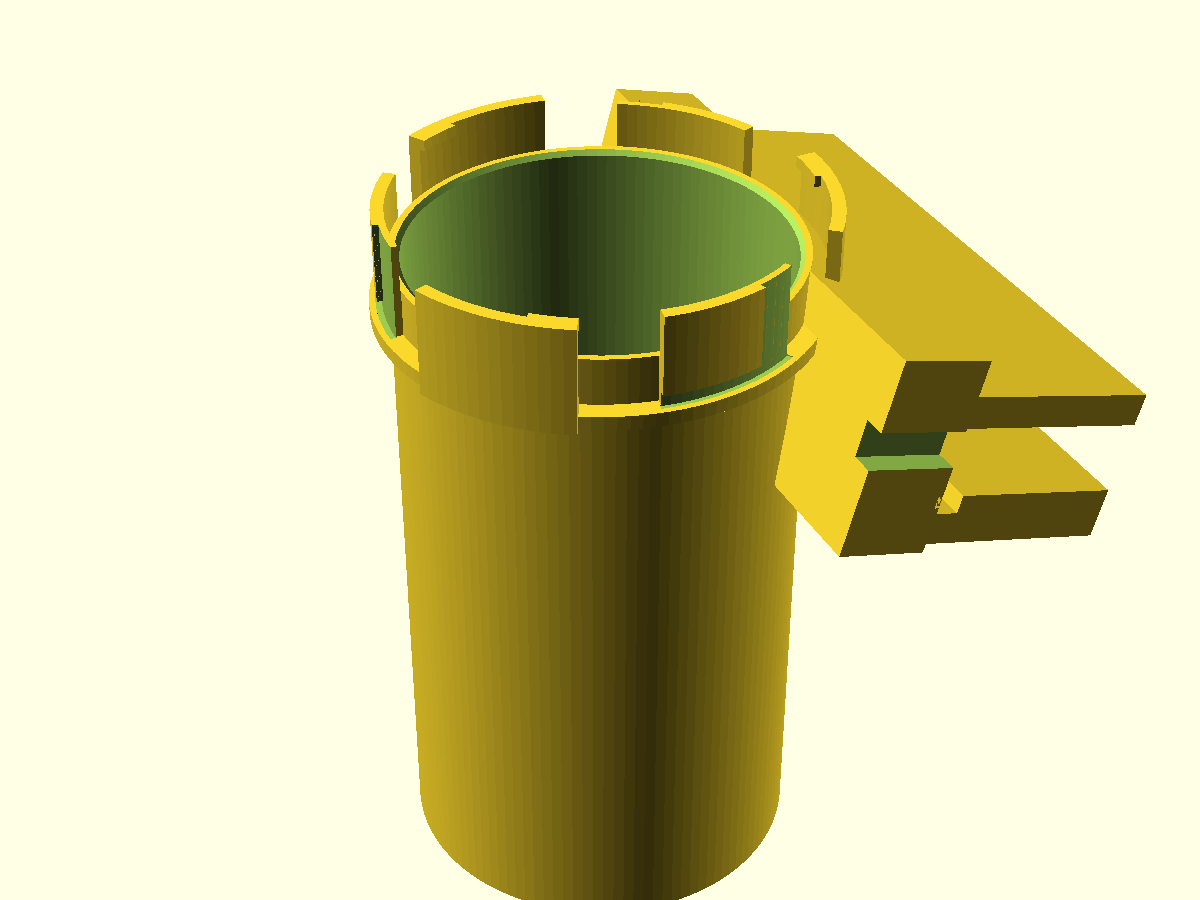
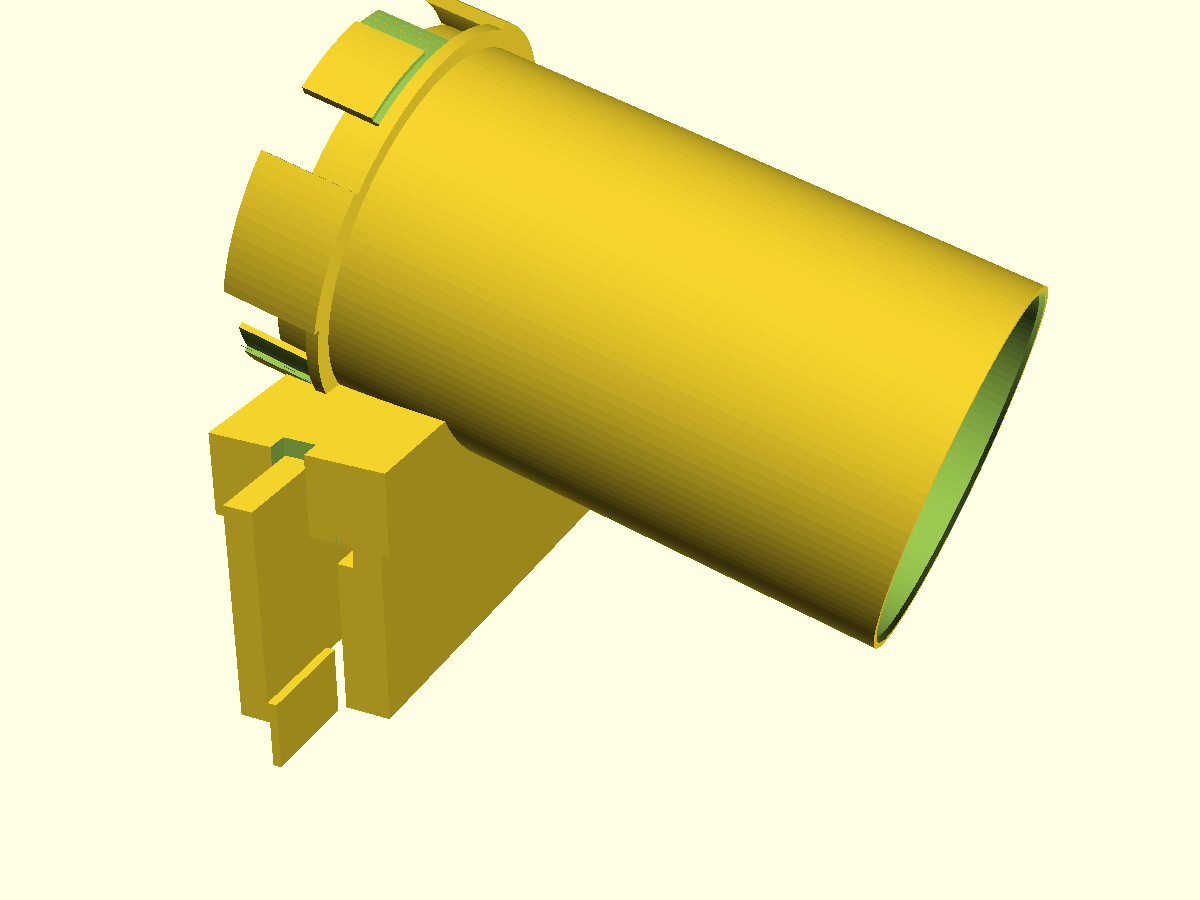
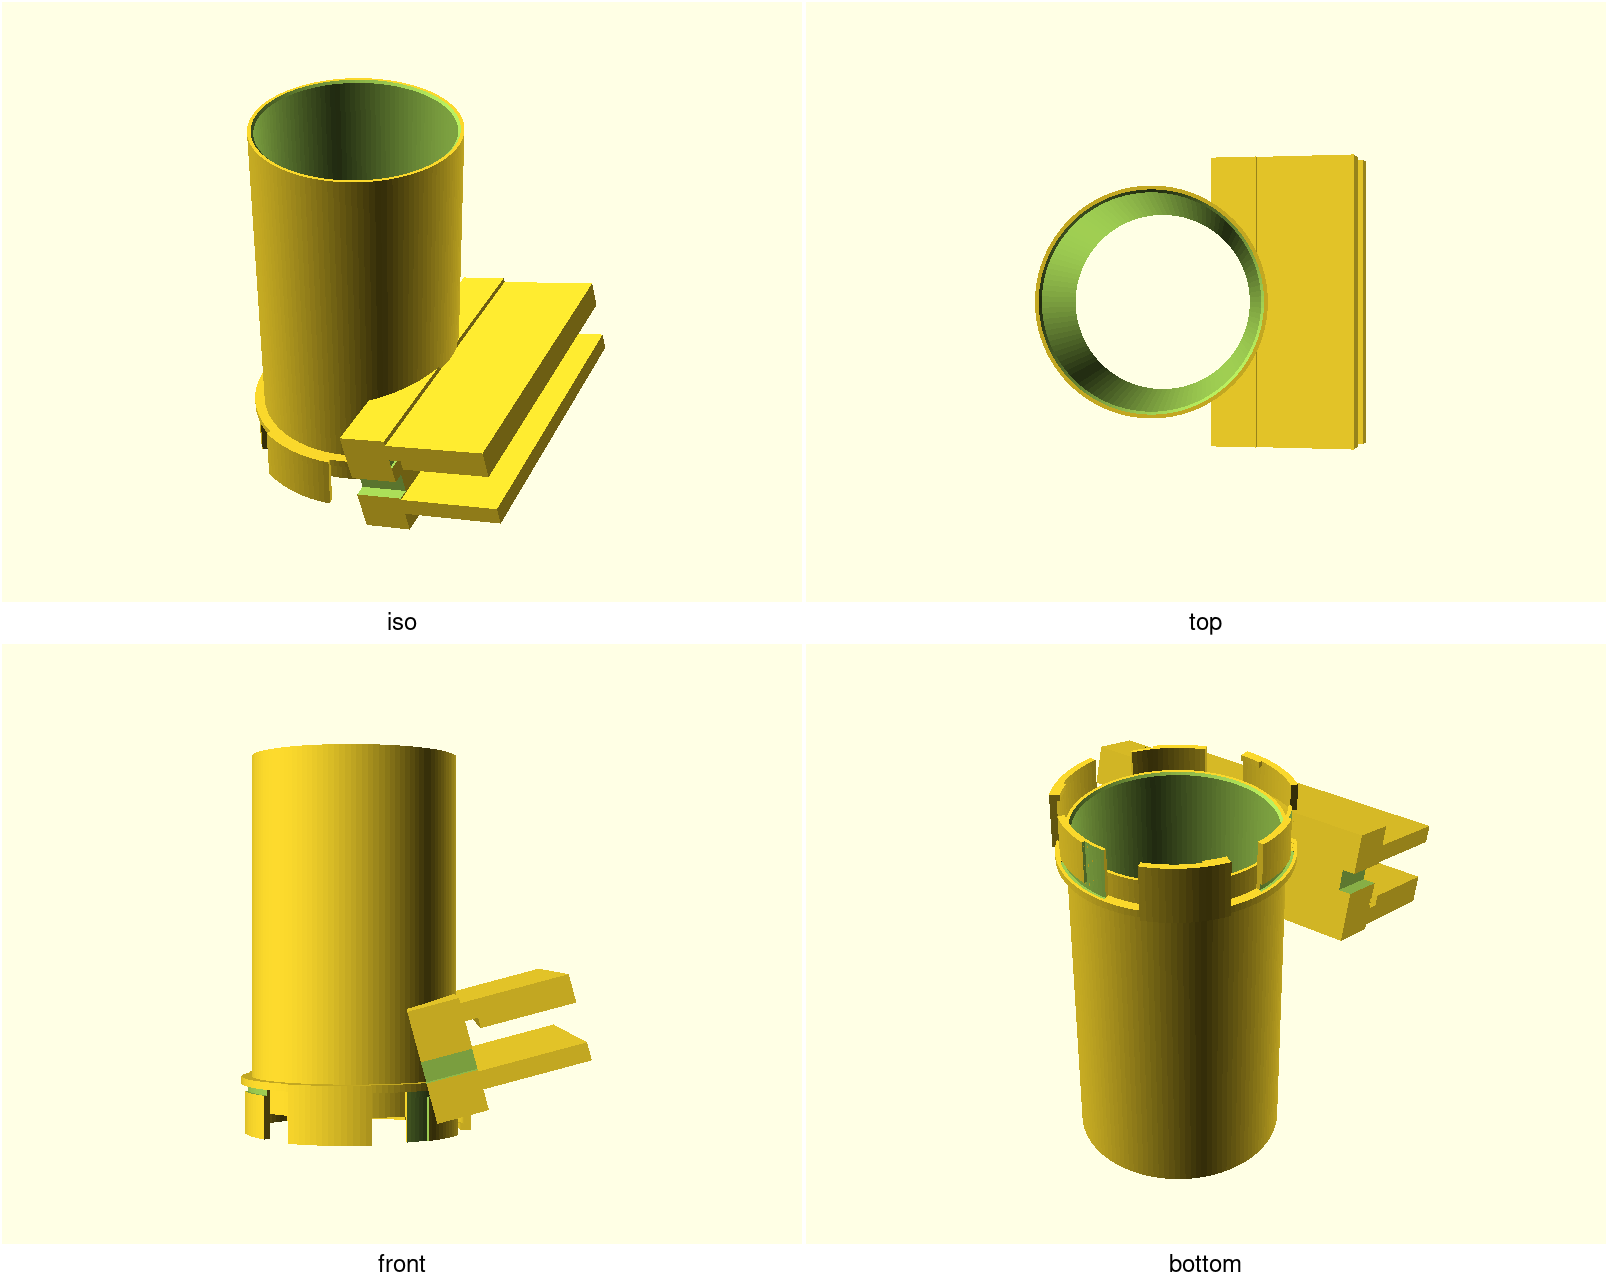
A NUGGS-compatible glass-enclosure entry port that clamps over
the top rim of a glass cabinet — no drilling (the rim is tempered glass;
it shatters), no adhesive, no frame modifications — and carries one standard
NUGGS genderless quarter-turn port, so a run starts from a glass tank exactly
the way it starts from a plywood bulkhead. The whole module is one straight
80 mm-bore tube inclined 15° down into the enclosure: the port couples on the
outside, and the internal ramp is the bore's invert — one smooth arc down,
the same arc back up, no step anywhere (the welfare rule: an animal walks out
the surface it walked in). The 80 mm bore passes a pouch-full adult with
clearance to spare. Default dimensions fit the IKEA Detolf (43 × 39 ×
163 cm); every rim number is a parameter, so a different cabinet is a -D
override plus a coupon print.
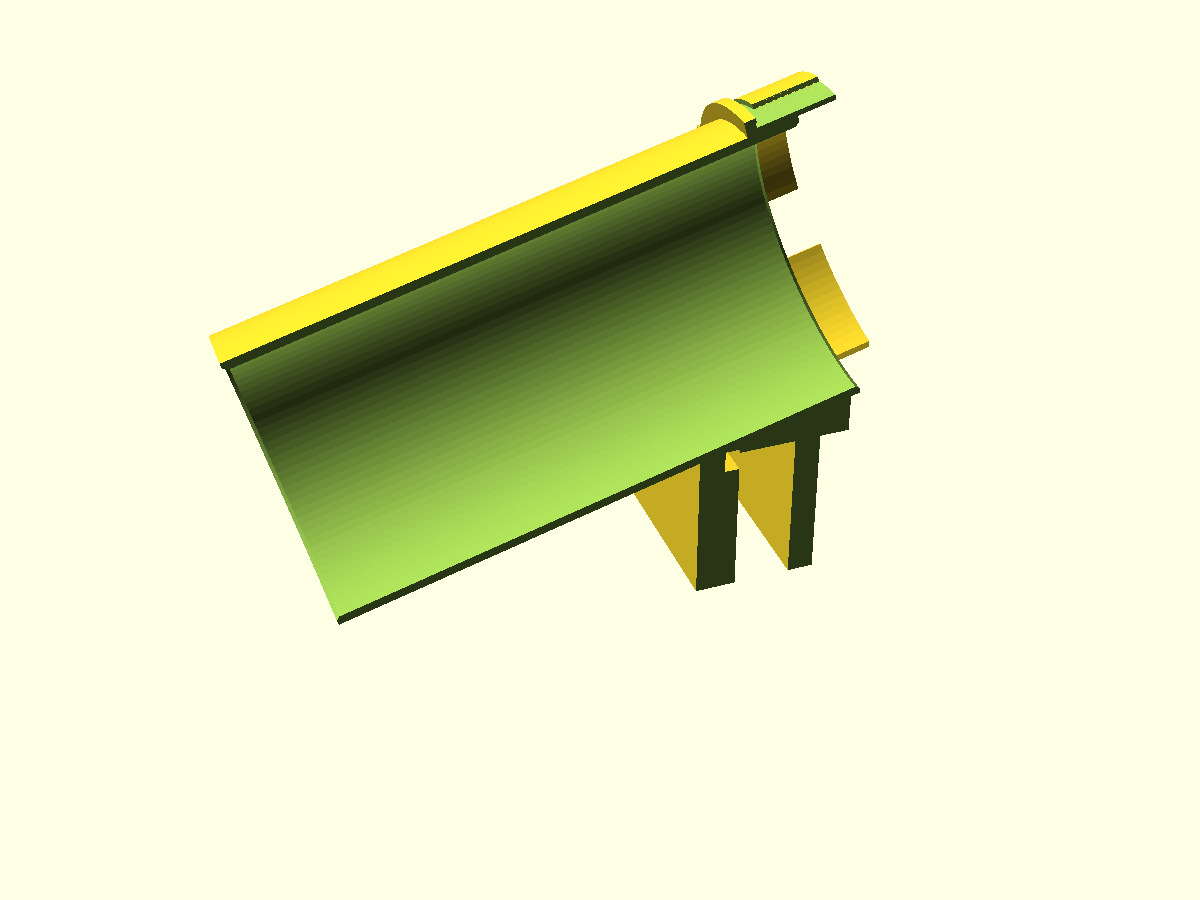
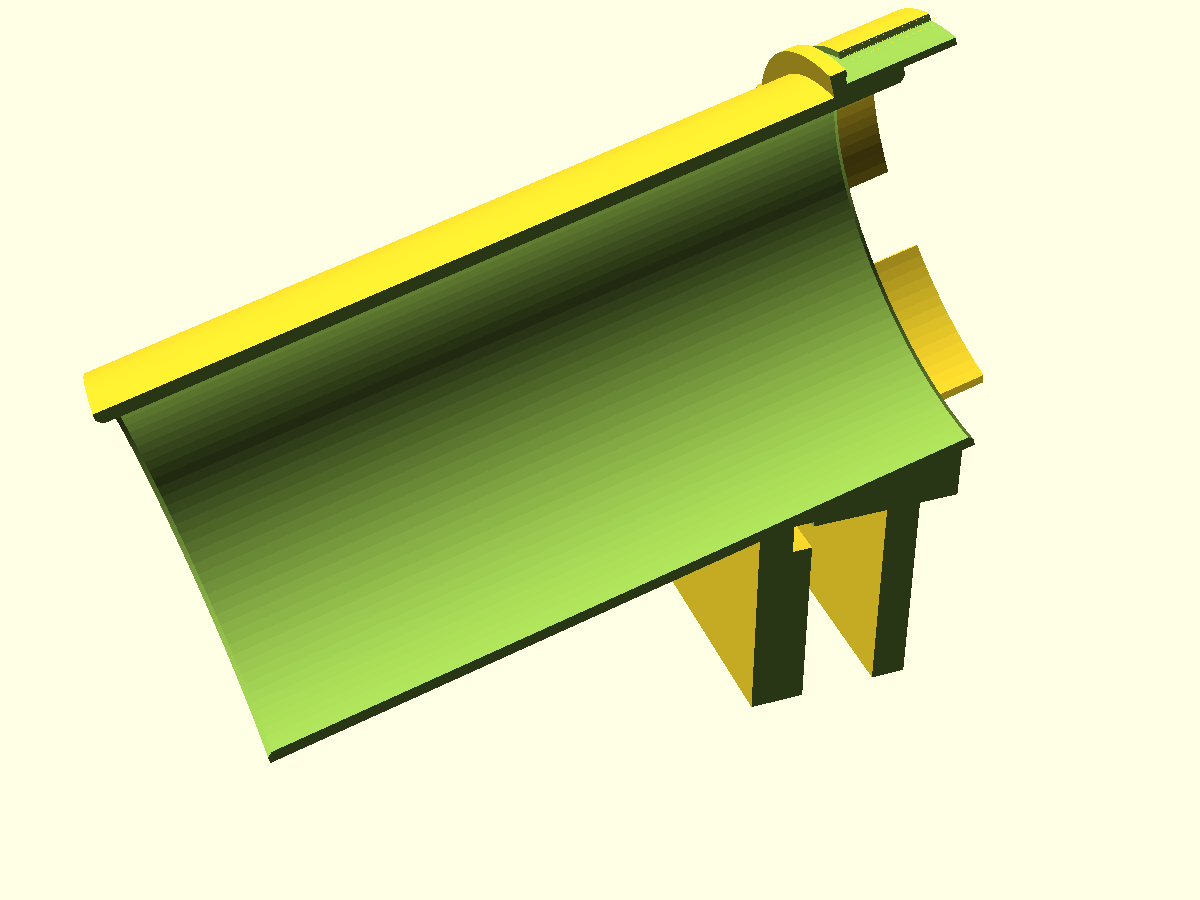
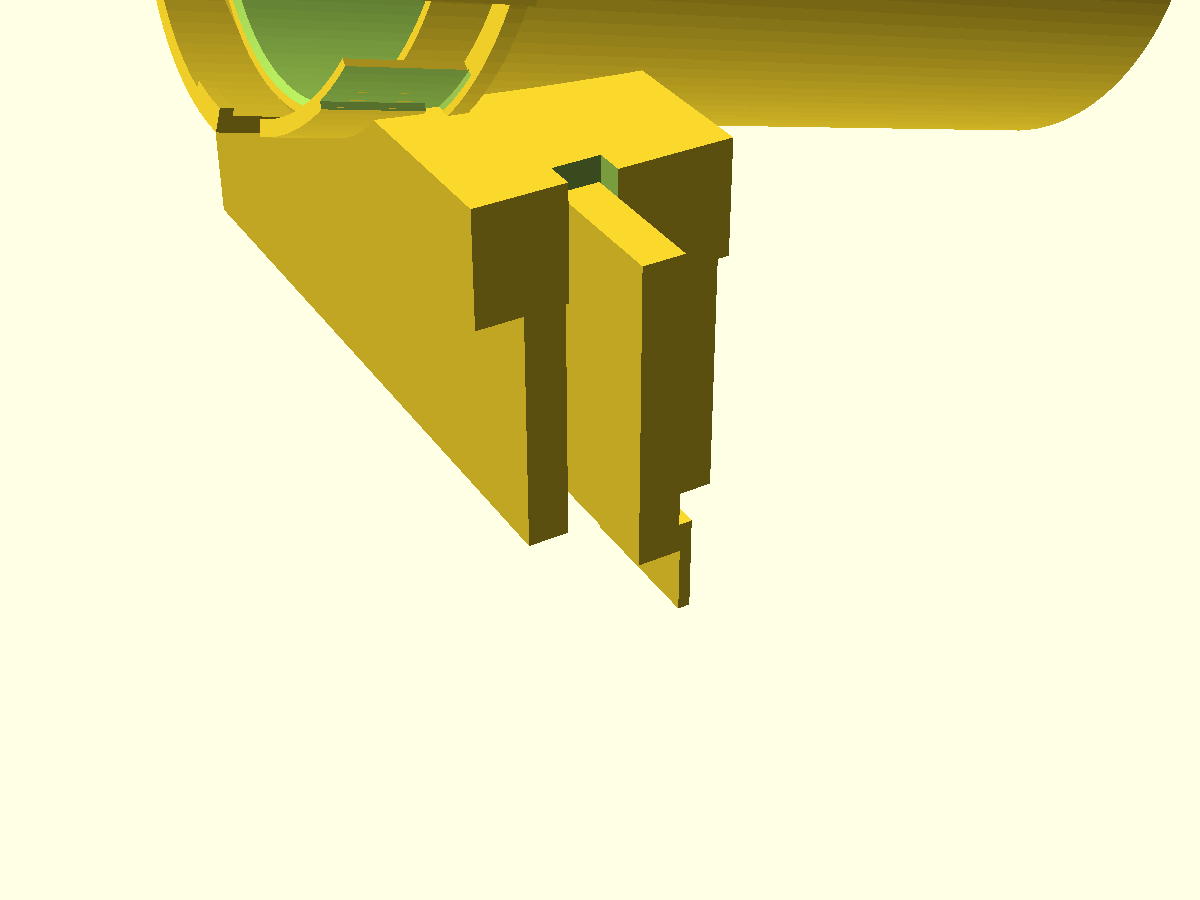
The clamp is two identical compliant arms (one spare serves either side). Each arm drops onto a flange at the foot of the outer skirt: its pad bears the frame lip while a hook latches under the bar. Both outboard tabs pulled together with a two-finger spread releases the saddle in one action, no tools — the rule that matters when you need the port open now. The saddle bears on glass and frame only: the inner skirt's bearing pad starts below the top-edge silicone seam, and a relief pocket keeps the bead zone clear.
What you get
body— the port, inclined tube and clamp bridge in one part (137.5 × 124.8 × 154.9 mm standing, port-down)arms×2 — the identical latch arms (41.2 × 63 × 24 mm the pair, printed flat so the layers lie in the bending plane). They are the wear part: the arms relax from standing preload over time (a clock, not a cycle count — the PETG mandate exists for this), so a year-two re-tension is one reprint atgrip_gap −0.05(≈ 1 h 1 m / 13.76 g, under 8 % of the body's filament) — the coupon de-risks the fits, the arms are the cheap consumablecoupon— port stubs ×2 and the latch fixture with both arms: one ~6 h / ~79 g print that proves both fits before you commit to the 13 h body. Print this first, in the same PETG as the arms — a fit tuned in PLA reads ~0.05 mm tight in PETG.nuggs-rim-saddle-plate.3mf— body + arms as a two-object plate: the printable deliverable (an assembled STL would slice as one fused lump)
The assembled saddle puts ~208 g on the rim (194.6 g body + 13.8 g arms, CI's slicer grams). No load rating — the number informs your own judgment about your cabinet; it is not a promise about what the rim carries.
Print settings
- Material: PETG for the arms, mandatory — a clamp is a bending member and PLA creeps loose. Body: PETG or PETG-HT. Hand-wash ≤ 50 °C, never dishwashered (NUGGS material rule)
- Layer height: 0.2 mm, 0.4 mm nozzle — don't reslice the body above 0.2 mm: the seat play is one layer at that height
- Seam: Scarf, not Aligned — the bore's invert is the walking surface, and Bambu's default Aligned seam grows a stacked ridge down its full length
- Infill: ≥ 15 %; 4 walls on the arms
- Orientation: as rendered — body standing port-down on the sector tips; arms flat on their back; coupon flat
- Supports: body — yes, tree (the shell grows out of the vertical
tube; ~11 % of its surface, ≈ 12 600 mm², 13 h / ~195 g on a 0.2 mm
profile — tree supports anchor the tall body and leave less to clean than
grid); arms and coupon — none. Block supports under the two latch-flange
seats (the faces the arms seat on print facing down) and in the two bridge
strap slots — or stone them dead flat afterward:
seat_liftis 0.2 mm of designed play, and one support nick eats all of it (the arm rocks, or seats high). Afterward deburr every face that touches glass or frame: a support nick under a pad is a point load on tempered glass. And feel the in-tank mouth rim and stone the feather dull before he finds it — even a proper 1 mm 45° lead ends in a feather edge at nose height, and first contact is a bite - Overnighter expectations: the body is a 13 h PETG print — set these before you sleep. Tree-support touch points will scar the shell where it grows off the tube; the scars are cosmetic (no bearing or coupling face takes support). PETG grips its supports, so set the support top Z distance to a full layer (0.2 mm) and keep the support/wall XY distance at the profile default or wider, or the trees gouge on release. Slow the outer walls on the tube's top half (a height-range modifier) — 155 mm up, a tall thin shell rings, and fast outer walls show it. And plainly: no setting de-risks a 13 h tall shell — if the first hours look wrong, stop and restart rather than hope
- (If printcheck flags thin walls on the body — a few % of sampled surface, thinnest ≈ 0.00 mm — that is the port itself, by design: the rib/groove interlock detail at the port face samples as coincident flank faces, the ≈ 0.00 mm reading, and the 1 mm 45° lead at each bore mouth tapers the rim's last fraction of a millimetre below 0.8 mm. Every NUGGS port prints this same detail; nothing to change in the slicer.)
- Brim: body — outer brim, mandatory (155 mm tall standing on three sector tips ≈ 527 mm² of bed contact; the slicer itself flags stability); arms and coupon — none. Print on textured PEI, or glue-stick the plate first — PETG welds to smooth PEI, and "mandatory" also has to survive the night. When peeling the brim, lever it up with a spatula, never torque the part (the thin rim-ring fins, tip nubs and webs ride the peel), then deburr the sector-tip bottom edges: brim tags and first-layer squish land exactly on the coupling datum (the bed face is the port face)
- Initial layer horizontal expansion: −0.1 to −0.2 mm — elephant foot lands on that same datum, on the body's sector tips and the coupon's stubs alike
- Bed: 256 × 256 mm fits every part, but place the coupon centered — at 204 × 206 mm it would clip the front-left exclusion zone on X1/P1 beds
Parameters
| Parameter | Default | What it does |
|---|---|---|
glass_t | 4.0 mm | Glass panel thickness. Measure yours — the clamp reach and the fitcheck both key off it |
lip_d / lip_h | 3.0 / 12.0 mm | Frame lip depth (inboard of the glass) and height below the rim top. Measure with calipers |
seam_w / seam_h / seam_clear | 3.0 / 4.0 / 1.0 mm | Silicone bead width/height at the top edge, and the standoff kept from it. Nothing bears on the bead |
skirt_h | 42 mm | How far the skirts reach down over panel + lip. Must clear the latch zone (asserted) |
grip_gap | 0.20 mm | The one clamp-fit knob: standoff between the arm pad and the frame lip. Tune on the coupon in ±0.05 steps |
incline_deg | 15° | Bore incline down into the tank. Asserted ≤ 15° (the welfare cap) and > 0 |
ramp_len | 120 mm | Horizontal reach of the mouth into the tank from the rim plane. Set it for your bedding depth / interior bracing — the mouth should meet the berm |
bore_d | 80 mm | Internal bore, asserted ≥ 70 mm by the library — never lower that floor |
port_tol | 0.30 mm | The one fit knob of the port standard (same as every NUGGS module) |
All parameters are at the top of nuggs-rim-saddle.scad in Customizer
sections; override on the command line with -D 'glass_t=5'. Change a rim
number and re-run the coupon before reprinting the saddle.
Assembly & use
- Measure your actual rim first: panel thickness, lip depth and height. Re-render with your numbers if they differ from the Detolf defaults — a coupon built at the nominal rim is one you'll only have to reprint. Your calipers prove it fits your rim; the coupon then proves the clamp fits its fixture.
- Print the coupon with your numbers (same PETG as the arms) and tune:
port_tolon the two port stubs (snap, twist),grip_gapon the latch fixture (snap an arm on, lift the tab). Sloppy → −0.05; won't seat → +0.05. The coupon prints without a brim — but deburr the stub feet before judging: first-layer squish lands exactly on the sectors you're testing. - Slide the saddle over the rim — inner skirt inside the tank, bridge
seated on the rim top, bead clear. Before the arms go in, run a needle
file through both bridge strap slots — they bridge the short way, so each is
~8 mm of unsupported ceiling, 25 mm long, and sags a hair. Any fine file,
forward strokes, ~30 s — you're knocking down a sag, not carving. Then push
both arms down onto their flanges until the hooks latch. Removal is the reverse:
two-finger spread on the outboard tabs, one action. Inside the tank the
mouth hangs above the bedding (roughly 5–20 cm in a Detolf-on-its-back,
depending on fill): rake a bedding berm up to the mouth, or set
ramp_lenfor your depth before printing. - Couple your NUGGS run to the port at the insertion clocking, twist ~14°.
Run accounting: this module contributes its own enclosed length only
(port face to mouth ≈ 145 mm axial); the mouth discharges into the
enclosure, which counts as a break, so a new run starts here. The max-run
rule engraved on every NUGGS tube still applies to whatever you couple
outside. Left uncoupled on cleaning day the port is an 80 mm exit at the top
of a by-design climbable ramp — cap it with the family's own closure, the
nuggs-shutter-valve(a NUGGS-port drop-in with a human pull-handle that keeps an animal off part of a tube network without disassembly), rather than trusting the open port.
Never drill the rim to add a second port — print another saddle (or a compatible module) instead. Hand wash only, ≤ 50 °C.