

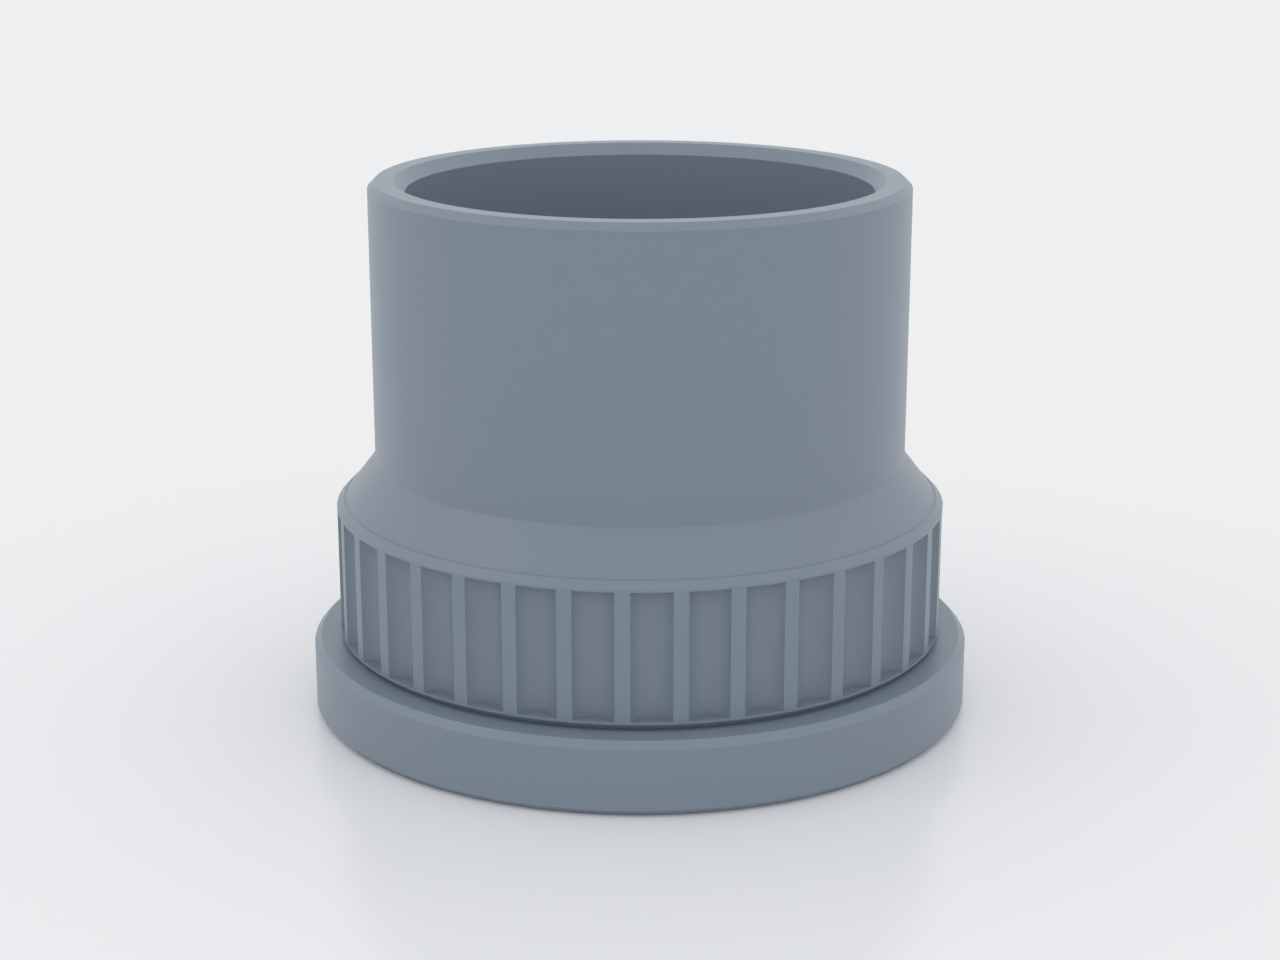
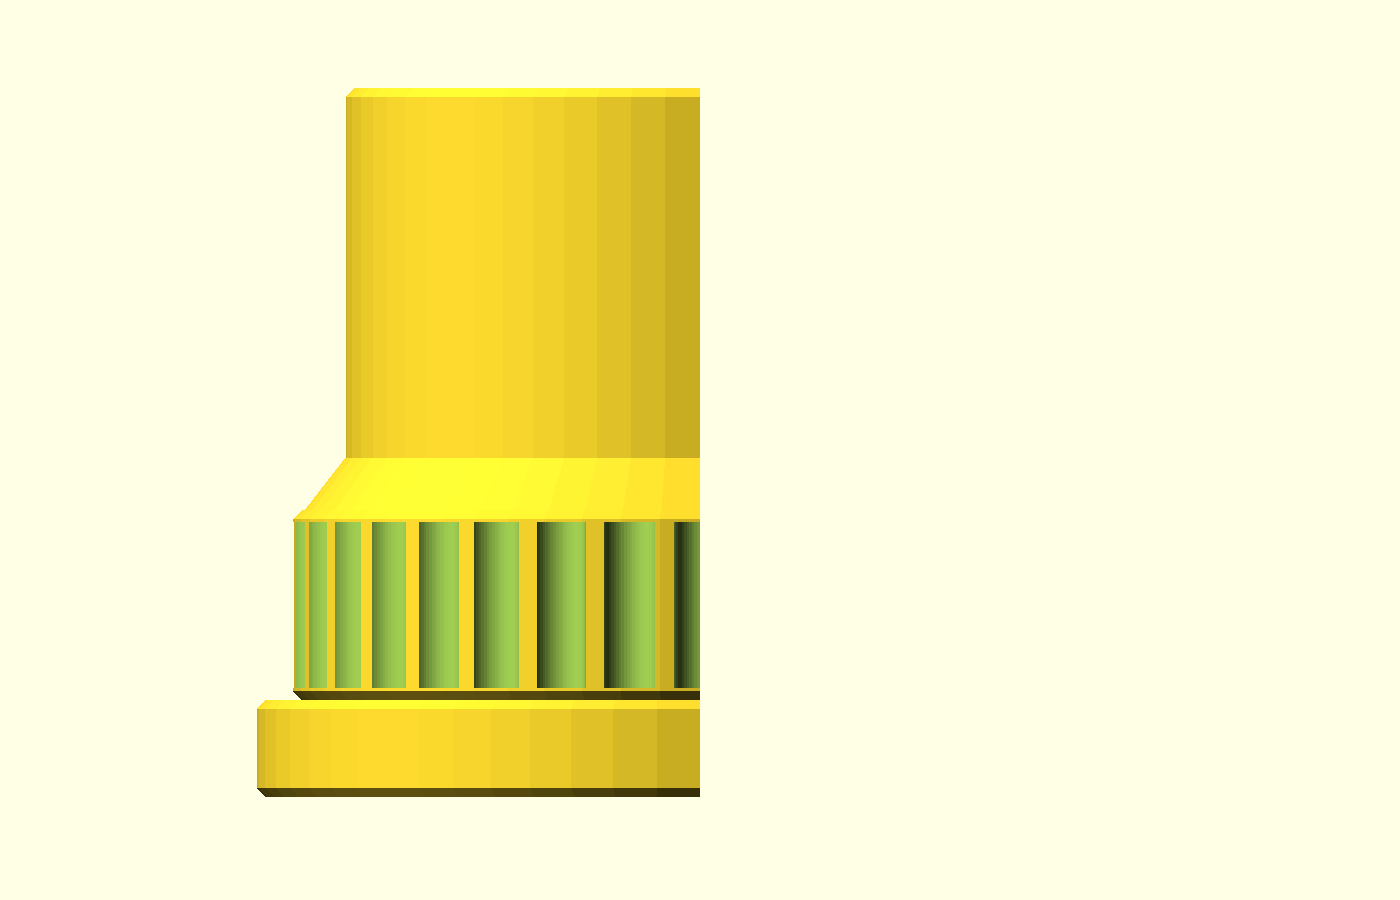
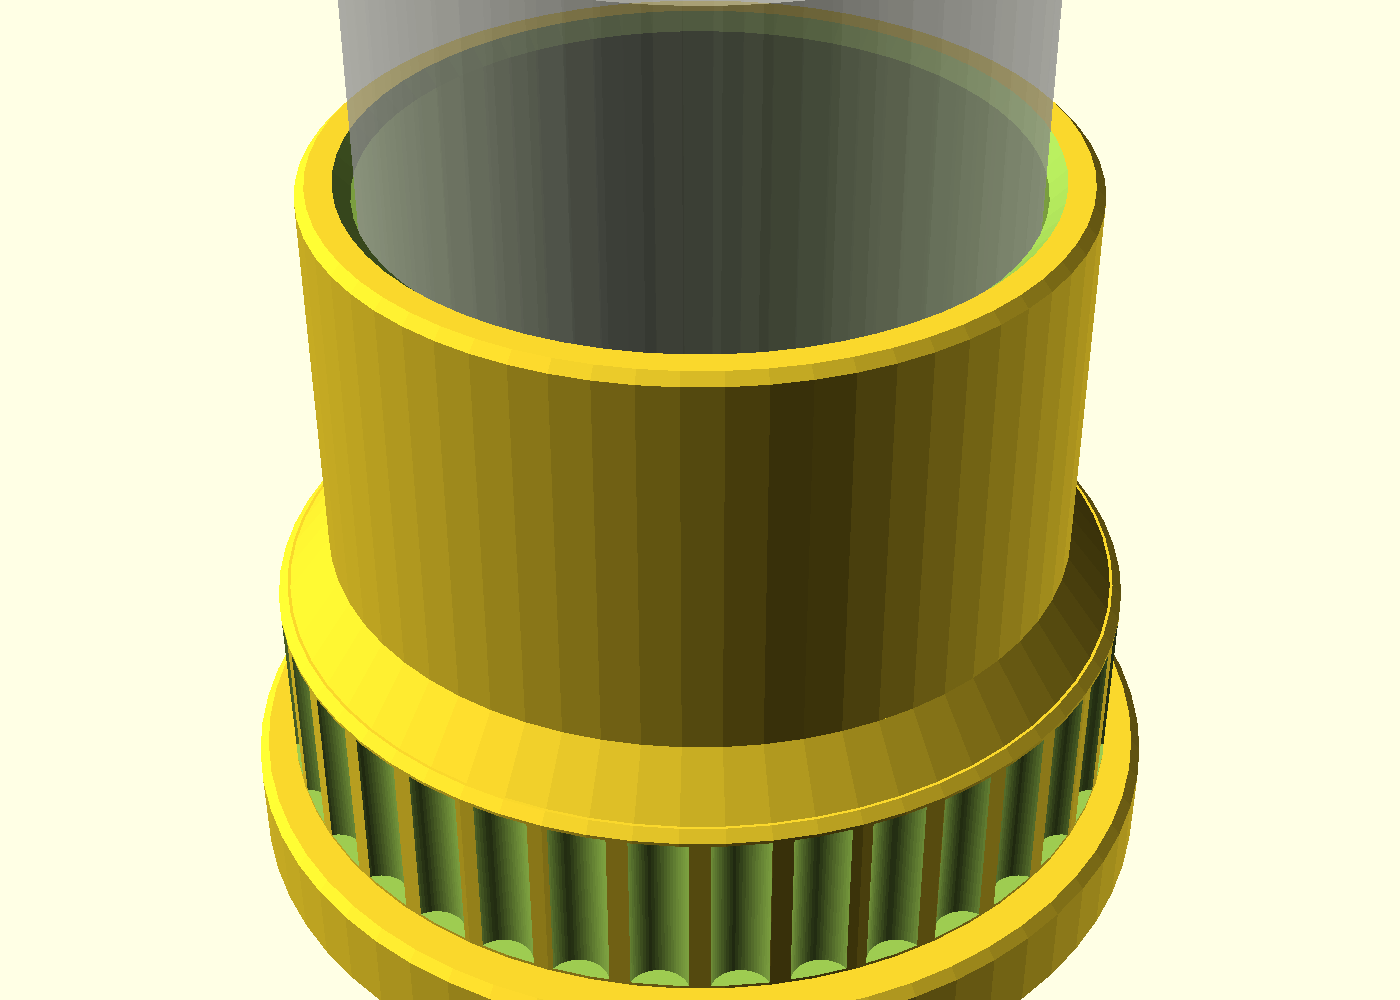
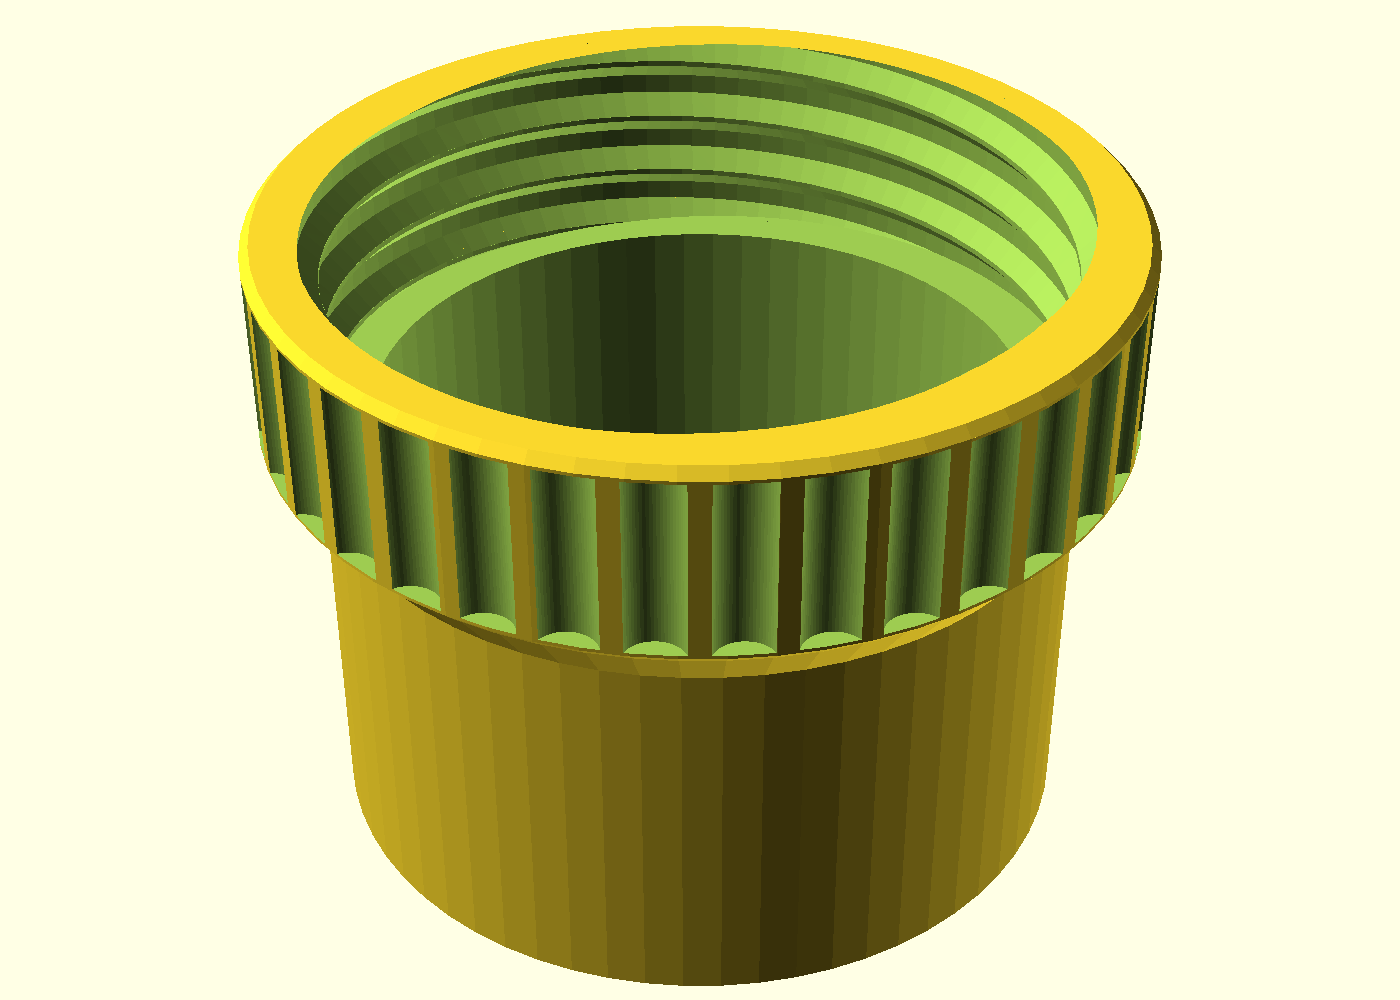
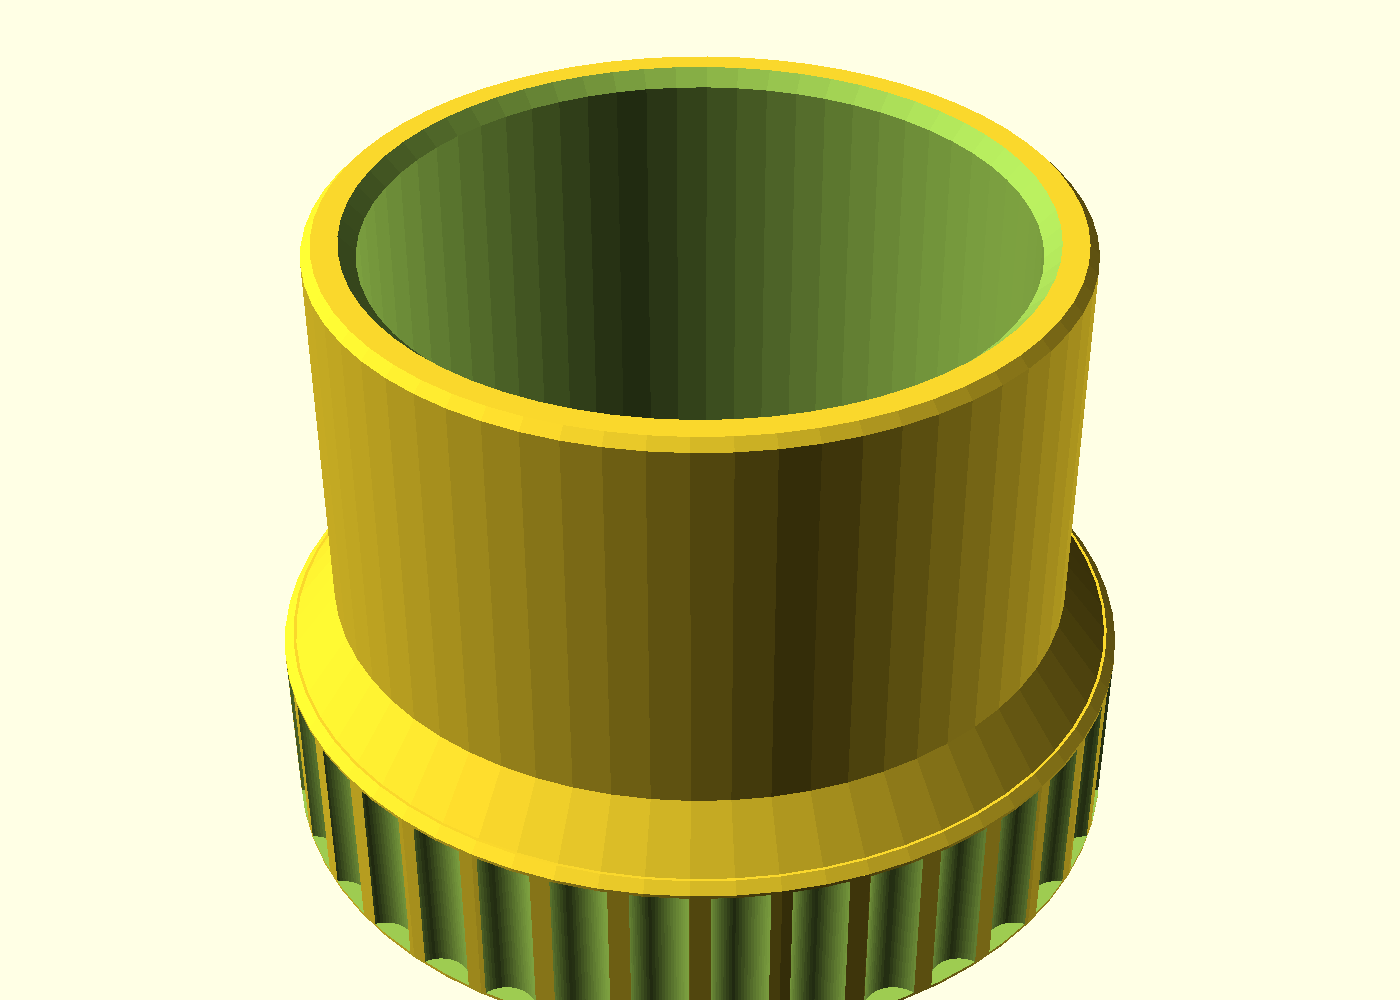
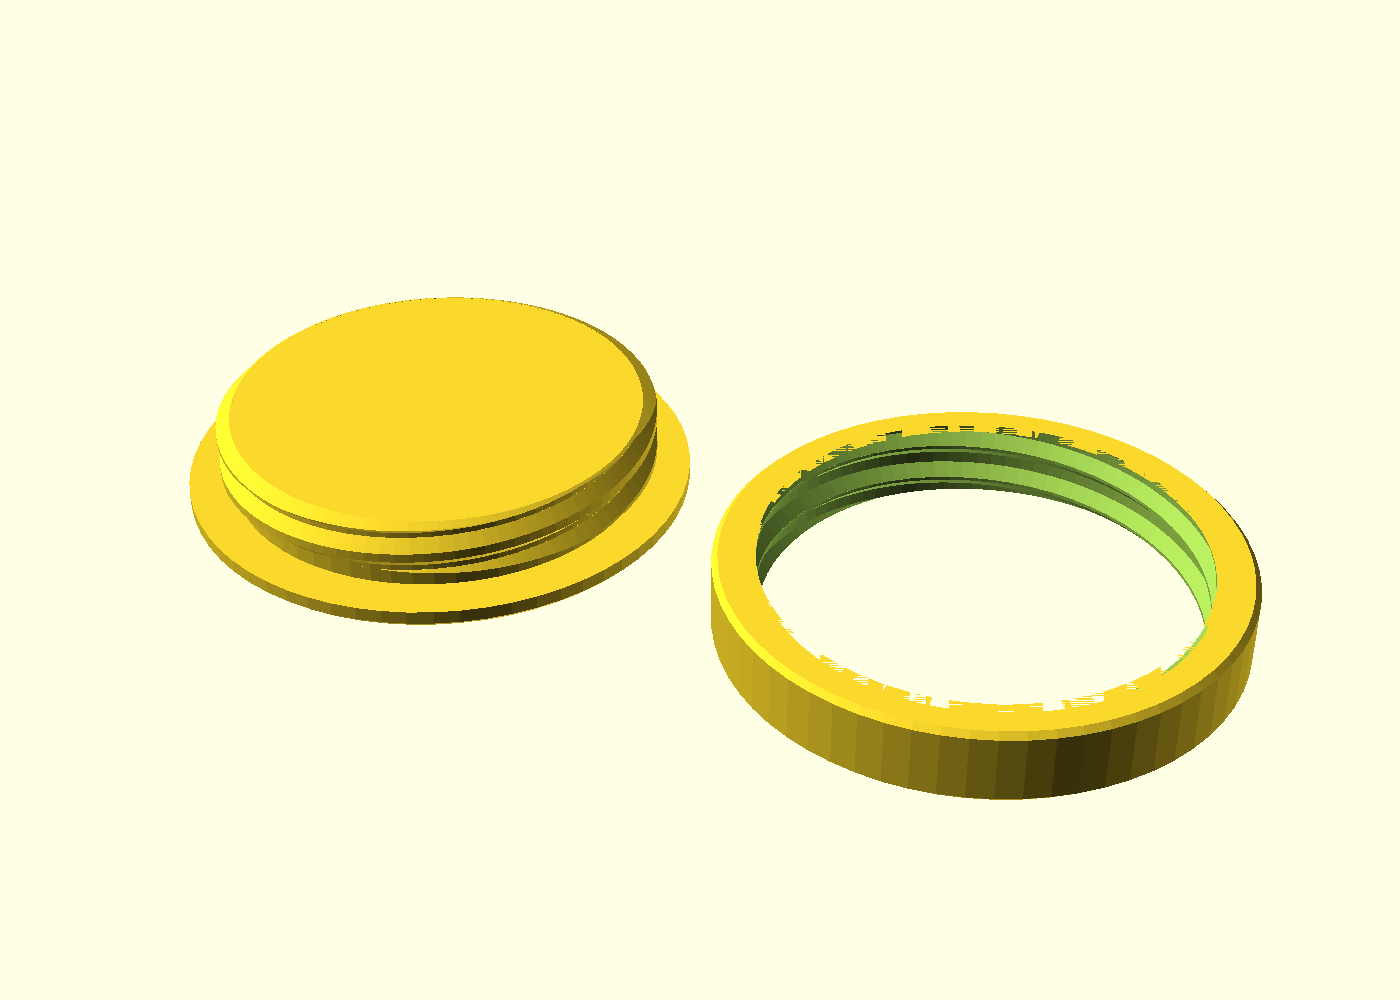
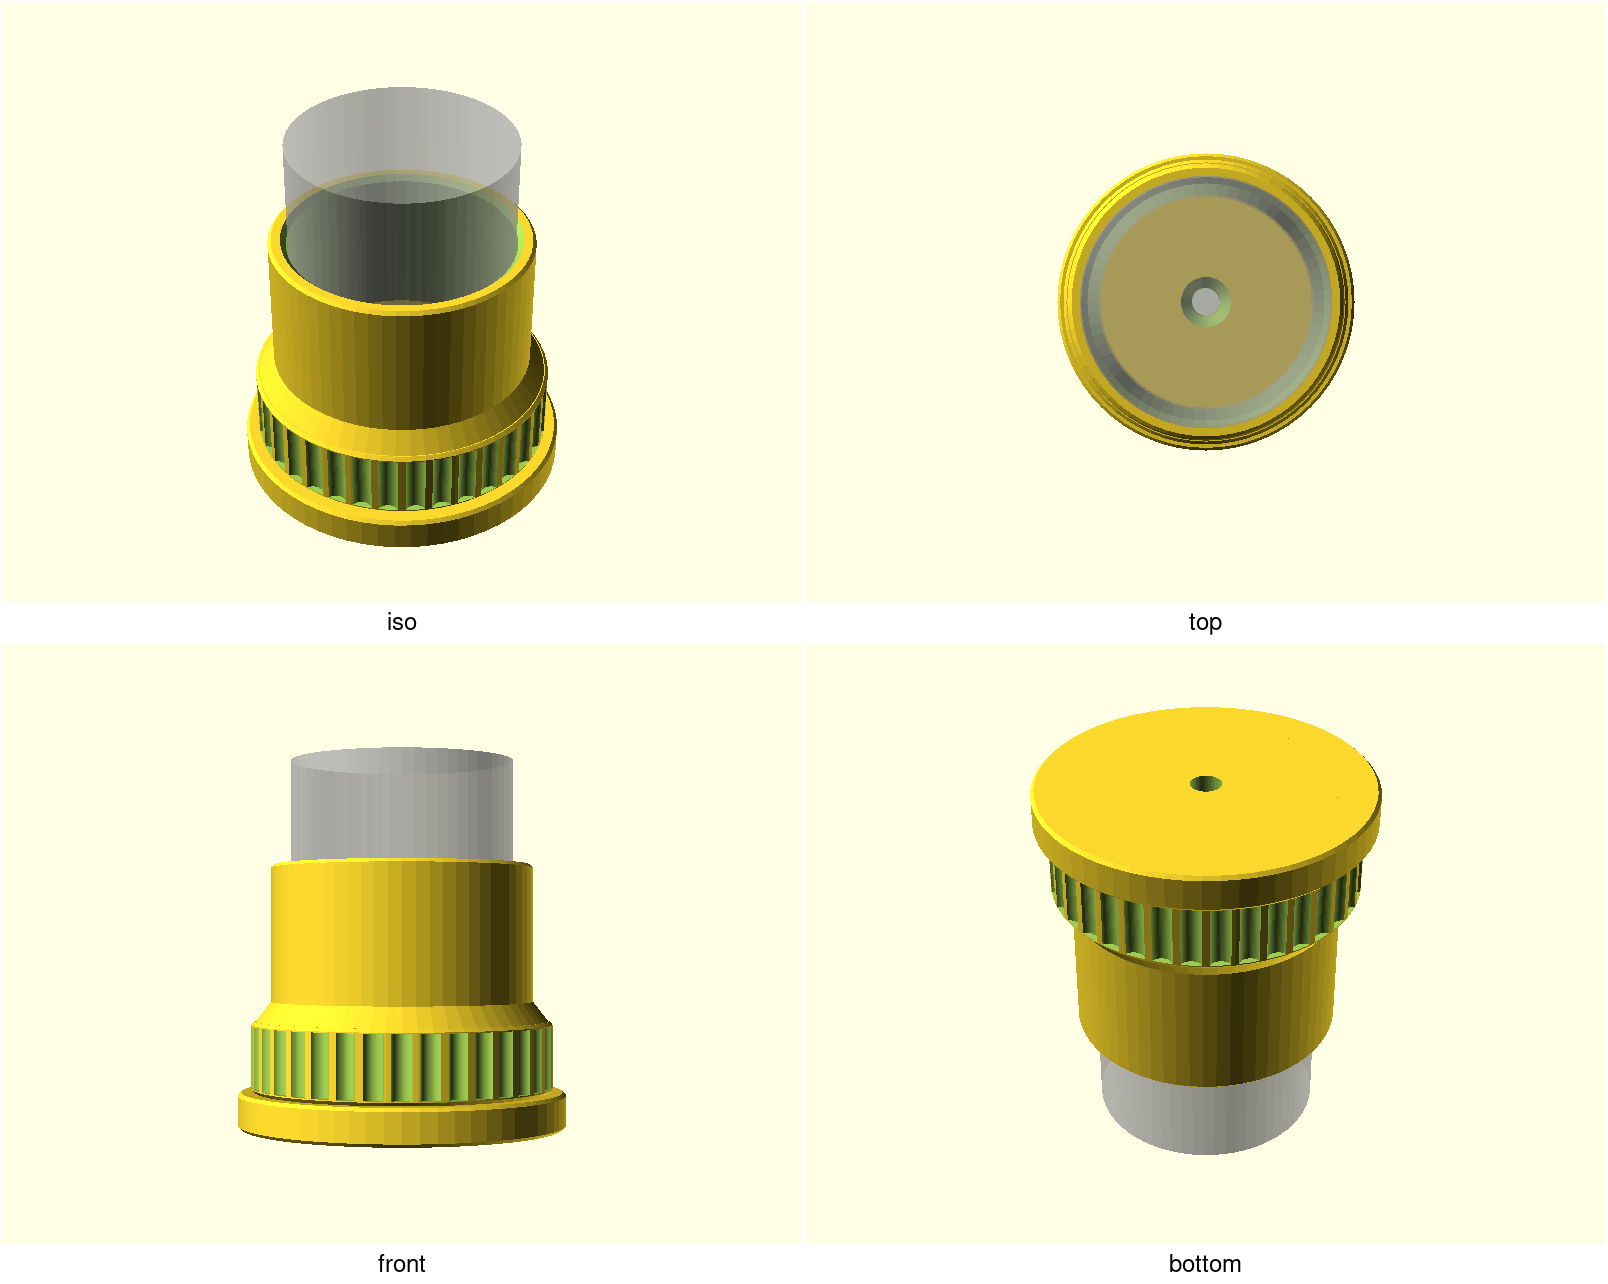
A parametric, two-part screw-together end socket for a 40 mm curtain or closet rod that spans a recess or alcove. A wall boss screws flat to each facing wall; the rod's ends plug into knurled collars that hand-thread onto the bosses. Curtains down for washing = unthread two collars, no tools.
v2 — ships the separable multi-object plate deliverable. v1 (#361) printed fused in the field (a single STL of the two parts slices as one welded body); v2 fixes the packaging, geometry unchanged. See Deliverable below and the field test log in NOTES.md.
What you get
Printed in pairs (one holder per wall, one pair per rod):
boss— the wall plate: Ø58.8 × 18 mm disc with a countersunk M5 screw hole and an external printed thread (an optional second off-axis screw setting,screw_count=2, grows the flange for heavier installs — a hung pair over ~10 kg; see Assembly).collar— the rod socket: Ø54 × 40.6 mm knurled tube, internal printed thread below, Ø40.6 rod bore above (defaultengagement_depth=28).collar-shallow— the same collar atengagement_depth=12(far side of the push-in-deep / drop-in-shallow install). Gated and shipped in the Release; not on the plate (the plate is the default-depth holder pair).thread-coupon/bore-coupon— the "print this first" fit checks (see Print settings).
Deliverable — two objects, never one fused STL. boss and collar print as
separate parts, and the one rule is: keep them as two distinct objects in the
slicer. STL carries no object separation, so exporting the two into a single
STL imports as one fused body and welds them together — v1's field-test failure
(NOTES.md). Two ways to get the parts, both give the separation:
- Downloaded a Release (the usual path): v2.0
ships the gated per-part STLs —
alcove-rod-socket-boss.stl,alcove-rod-socket-collar.stl,alcove-rod-socket-collar-shallow.stl, plus the two coupons (alcove-rod-socket-coupon.stl,alcove-rod-socket-bore-coupon.stl), a zip, and a checksum manifest. Import what you need and keep them as separate objects. The plate is still the default-depth holder pair (boss+collar); grabcollar-shallowfrom the same Release for the far side of the push-in-deep / drop-in-shallow install. There is no multi-object plate.3mfon that Release (only STLs / zip / manifest) — the plate stays a local build artifact (see the clone path below). That is a tracked follow-up: the platform release-bundle does not upload the multi-object plate 3MF today. - Cloned the repo (advanced / local):
./scripts/plate.sh alcove-rod-socketbundles the two default-depth parts into one multi-object 3MF (build/alcove-rod-socket-plate.3mf) — the same two objects in one file. For the far-side shallow collar, run./scripts/gate.sh alcove-rod-socket(or--slice) and take the gated STL atbuild/alcove-rod-socket-collar-shallow.stl— that is the printcheck'd artifact, not a hand-render. Advanced override only:-D 'part="collar-shallow"'if you need to re-export outside the gate.
Either way, saving bed space is fine — lay the two parts side by side and
flat (the plate's --merge does exactly that). Don't stack them one on top
of the other: two separate objects stacked vertically still print the upper one
over open air — the ~10-layers-in spaghetti from v1.
A rod takes a pair — two holders, so print (or import) the set twice. For
the push-in-deep / drop-in-shallow install (Assembly step 3, Parameters table)
the two holders share the same boss; only the far holder's collar differs —
use collar-shallow (engagement_depth=12). So a deep+shallow pair is two
bosses + one default collar + one shallow collar.
Twice can be one print. Import the boss and default collar STLs from the
Release (or both objects from a local plate.sh 3MF), select both →
right-click → Add Duplicate, then swap one of the two collars for
collar-shallow from the same Release — so the run is boss ×2, one default
collar, one shallow. One pair (~113 × 59 mm of bed for a boss beside a
collar) fits any 150 mm bed; two pairs want the 256 × 256 mm P2S.
Print settings
- Material: PETG or ASA for a permanent, load-bearing install — PLA
creeps under sustained load, and a hot south-facing window is the
one-strike failure. Both want a retune, measured on the coupons: PETG
prints the thread slightly fatter, so expect
thread_tol+0.05–0.1 mm vs PLA; ASA shrinks the bore ~0.2–0.4 mm — about the whole slip — so print the bore coupon in ASA first and expect +0.1–0.2 mm onrod_clearance(a material-specific preset is charter backlog B4). - Layer height: 0.2 mm, 0.4 mm nozzle.
- Perimeters: 3 — the 3.2 mm walls carry the load.
- Seam: Scarf (Bambu Studio) or Back — the default Aligned seam stacks a ridge up the printed threads and inside the rod bore, and that ridge can locally eat the 0.3 mm radial sliding fit.
- Infill: 20% gyroid.
- Supports: none needed anywhere, by design.
- Bed adhesion: brim the collar (and
collar-shallow), per-object (Bambu Studio and most slicers brim per object — select just the collar). Its first layer is a thin ~2.2 mm annular rim carrying a 40.6 mm tube, the part that can lift; the boss doesn't need it — it prints flange-down on a full Ø58.8 disc, the best contact on the plate. Cheap insurance on the collar rim's own merits (the v1 field failure was packaging, not adhesion — see NOTES.md — so the plate is what fixes that; the brim is separate). A per-object collar brim can't reach the ~5.7 mm gap to the boss, so nothing bridges. (Brim the whole plate instead and the two brims may meet in one web; it should peel clean, but that is untested — predicted, not observed, and the proving print is what confirms it. Per-object avoids the question.) Trim the collar's brim tabs flush and set it on a flat surface to confirm the rim sits flat before threading it onto the boss — the rim is both the bed-contact face and the seating face on the flange. - Orientation: print every part as rendered — boss flange-down, collar (and collar-shallow) rod-mouth-down (the internal thread prints at the top of the collar, never on the first layer). Never flip the collar grip-band-down for a nicer face: the printed thread has to stay up top. If the collar's first-layer ring lifts, fix it with the brim above — don't flip the part.
- Print order: both coupons first, then tune (below), then a pair
(deep+shallow: two bosses, one
collar, onecollar-shallow).
The gate scores the boss / collar / collar-shallow / thread-coupon set with
the same thin-wall warning pattern (tessellated thread crests and knurl
ridges under 0.8 mm on a few percent of sampled surface; the bore coupon is
clean) — collar-shallow is 54×54×24.6 mm at printcheck 92/100, matching the
default collar's pattern. That is by design and needs no slicer action. The
coupon carries the same profile, so a coupon that prints clean says the parts
will too.
Measure your pole with calipers where it will sit and set rod_d to that
barrel reading — "40 mm" is sometimes the finial size, not the pole.
Parameters
The ones you are most likely to touch (all in alcove-rod-socket.scad,
Customizer-grouped; override on the command line with -D 'rod_d=38.5' —
and pair it with -D 'part="collar"' or -D 'part="collar-shallow"', or
you'll export the fused assembly preview instead of a printable part):
| Parameter | Default | What it does |
|---|---|---|
rod_d | 40.0 mm | rod barrel outer Ø where it sits in the socket |
rod_clearance | 0.6 mm | diametral slip added to rod_d → socket bore |
engagement_depth | 28 mm | deep-side rod plug depth (collar); far side is the gated collar-shallow part at 12 mm |
thread_tol | 0.3 mm | radial thread fit — dial on the thread coupon |
screw_count | 1 | 1 central M5, or 2 off-axis (grows the flange; stops boss spin) |
knurl_flutes | 36 | grip flute count — guarded to keep flutes printable |
wall | 3.2 mm | structural wall everywhere |
Sizes other than the default 40 mm rod are untested — the geometry scales, but the fits are only proven at 40 mm, and the coupons are the proof: print them in your material first and trust them over this page.
Assembly & use
- Screw a boss to each facing wall, countersunk M5 head flush in the neck.
Screw length: the boss is 18 mm through, so M5 × 40 mm into a rated
drywall anchor (the anchor card governs the exact pairing), or M5 ×
55 mm into a stud behind ~13 mm board (18 + 13 leaves ≥ 20 mm in the
stud). One M5 in a rated anchor holds a pair to roughly 10 kg of hung
weight — heavier curtains than that want a stud or
screw_count=2(derivation in NOTES). - Slide the collars over the rod before hanging it — one at each end.
- Thread each collar onto its boss until the rim seats on the plate. For a
rigid rod between two fixed walls: use one default
collar(deep) and onecollar-shallow— push into the deep side, drop the shallow end in, tighten both collars. Measure wall-to-wall, then cut the rod ≈ 40 mm shorter (38–42 mm is the safe band): each end bottoms on its collar shoulder 19 mm from that wall, so the seated rod spans nearly wall-to-wall (mouth-to-mouth plus ~38 — both sockets sit recessed into their collars). - To wash the curtains: unthread the collars (~1¼ turns each — 2-start thread) and lift the rod out — holding the flange still as you unthread, because unscrewing friction can walk the single M5 out of the wall over enough wash days. No tools.
If a fit is off, don't resize the parts — reprint the coupon and move the
tolerance (thread_tol, rod_clearance) in 0.05–0.1 mm steps; see
"Print this first" in NOTES.md, including a one-print tolerance sweep
(./scripts/render.sh alcove-rod-socket --sweep thread_tol=0.2:0.4:0.05).